What Are Calluses and Why Do They Form

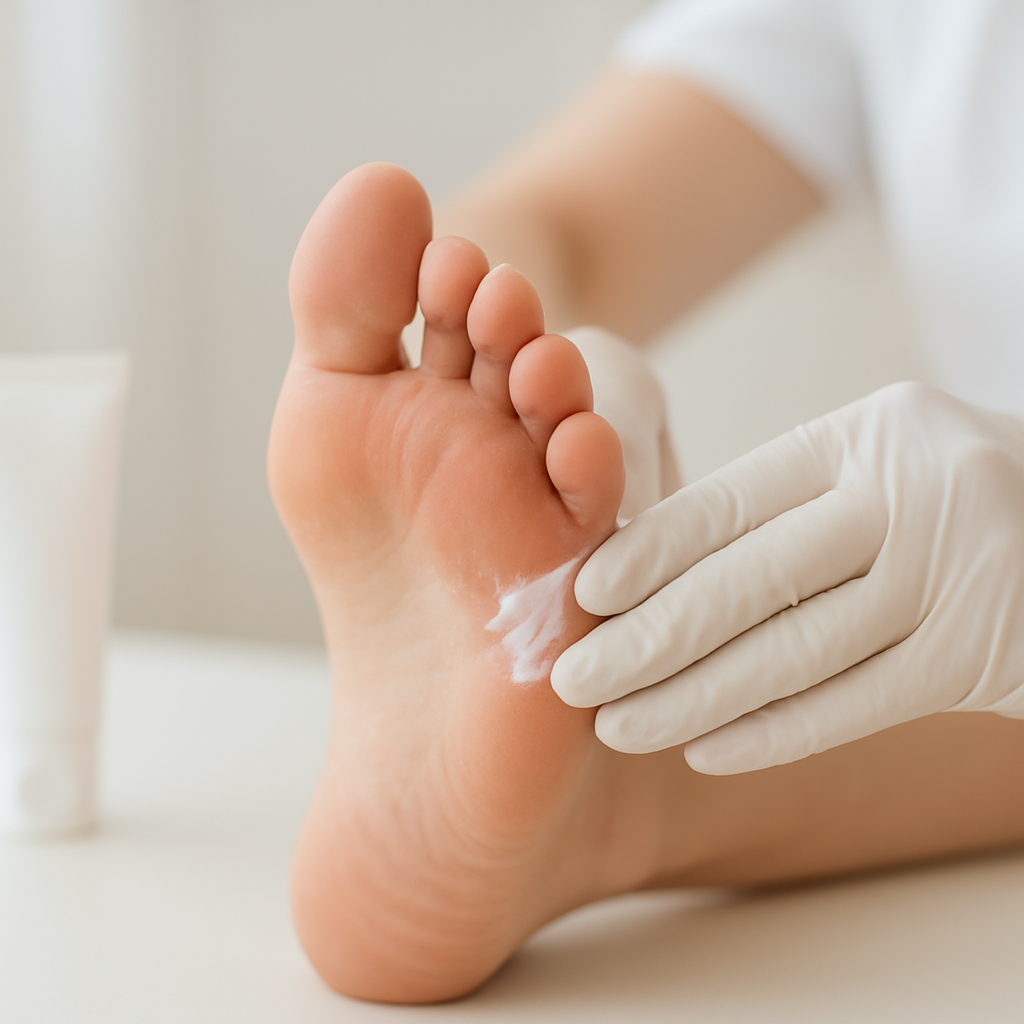
Calluses are thick, hardened patches of skin that develop when your body tries to protect itself from repeated friction and pressure. Unlike the smooth, soft skin you want to maintain, calluses feel rough and often appear yellowish or grayish. They form as your skin's natural defense mechanism, building up layers of dead skin cells to create a protective barrier.
“Calluses are your skin's way of building armor against repeated pressure and friction.”
Your feet are the most common location for calluses because they bear your full body weight and experience constant friction from walking, running, and wearing shoes. The thick skin on your feet is already prone to dryness and requires specialized moisturizing care to maintain a healthy skin barrier. High heels, ill-fitting shoes, or walking barefoot on rough surfaces create the perfect conditions for callus formation.
Don't confuse calluses with corns, which are smaller, deeper, and typically have a hard center surrounded by inflamed skin. For example, you might develop a callus across the ball of your foot from wearing tight shoes, while a corn would appear as a small, painful bump on your toe. Understanding this difference helps you choose the right removal approach and prevents the permanent scarring you're worried about by using inappropriate treatment methods.
Tools and Supplies You'll Need

Gathering the right tools before you start prevents mistakes that could damage your skin. You don't need expensive equipment—most items are available at drugstores or online for under $20 total.
“Using proper tools reduces your risk of injury and helps achieve smoother results.”
Start with a foot soak basin large enough for both feet. A regular plastic tub works perfectly. You'll need a pumice stone or metal foot file—pumice stones are gentler for beginners and less likely to cause cuts or gouges.
Choose a thick moisturizing foot cream containing urea or lactic acid, which help soften tough skin naturally. Keep clean towels nearby for drying your feet thoroughly.
Finally, have antiseptic solution ready to clean your tools before and after use. This simple step prevents bacterial infections that could complicate healing. Rubbing alcohol or hydrogen peroxide both work effectively for sanitizing your equipment.
Having everything prepared beforehand makes the process smoother and safer, reducing the chance of rushed decisions that might harm your skin.
Step-by-Step Callus Removal Process
Now that you have your tools ready, it's time to safely remove those calluses without causing damage to your skin. The key is taking your time and using gentle pressure throughout the process.
Fill a basin with warm (not hot) water and soak for 10-15 minutes to soften the callused skin.
Pat your feet dry with a clean towel and identify the exact location and thickness of each callus.
Use your pumice stone or foot file to remove dead skin with light, consistent strokes moving in one direction only.
Immediately stop filing when you notice the skin becoming pink or feeling tender to prevent injury.
The most common mistake people make is over-filing, which can lead to open wounds and potential infection. Your feet have naturally thicker skin on the plantar surface, but underneath lies sensitive tissue that needs protection.
For example, if you're working on a heel callus, you should see gradual improvement rather than trying to remove everything in one session. The process should never cause pain or bleeding. If you feel any discomfort, take a break and reassess.
Remember that callus removal is a gradual process that may take several sessions over weeks. This approach prevents scarring and ensures your skin heals properly between treatments, giving you the clear, healthy skin you want without the risks of aggressive removal methods.
Post-Removal Care and Prevention
Proper aftercare prevents permanent scarring and keeps your feet healthy after callus removal. Your skin needs time to heal and rebuild its protective barrier.
Use thick moisturizers containing urea or salicylic acid twice daily to maintain soft skin.
Cover treated spots with adhesive pads or gel cushions during activities that create friction.
Wear shoes with adequate toe room and cushioned insoles to prevent pressure points.
Soak feet weekly in warm water and gently file rough spots with a pumice stone.
Feet develop calluses because of repeated pressure and friction. Your body creates this thick skin as protection, but poor-fitting shoes remain the primary cause. Replace worn-out athletic shoes every 300-400 miles, and choose leather or breathable materials that conform to your foot shape.
Check your feet daily for early signs of callus formation. Address rough patches immediately with moisturizer rather than waiting for thick buildup. Weekly pumice stone treatments during your shower prevent calluses from returning while keeping your skin smooth and healthy.
When to See a Professional

While home callus removal works for most people, certain situations require professional medical attention. Recognizing these warning signs protects your skin from permanent damage and ensures proper healing.
Watch for infection signs including redness, warmth, swelling, pus, or red streaking around the callus. These symptoms need immediate medical evaluation. If you have diabetes, never attempt home removal on your feet - diabetics have reduced sensation and healing capacity, making professional care essential for preventing serious complications.
See a podiatrist when calluses cause severe pain, interfere with walking, or return quickly after removal. Professional treatment offers specialized tools like medical-grade scalpels and prescription medications that safely remove thick, stubborn calluses without scarring.
For example, a patient with recurring heel calluses that crack and bleed needs professional assessment to address underlying biomechanical issues causing the problem. A dermatologist can also identify whether your "callus" is actually a wart, corn, or other condition requiring different treatment.
Common Mistakes to Avoid
Improper callus removal can lead to permanent scarring and infections that cause more embarrassment than the original problem. These common mistakes turn simple self-care into serious complications.
Never use razor blades, knives, or any cutting tools on calluses. These create deep wounds that easily become infected and leave permanent scars on your hands and feet. Professional-grade callus shavers require medical training to use safely.
Avoid over-filing calluses in one session. Aggressive filing removes healthy skin layers and creates raw, painful areas. File gently for short periods over several days instead of trying to remove everything at once.
Skipping moisturizer after callus removal leaves your skin vulnerable. Both hands and feet need immediate hydration to prevent cracking and bacterial entry. Apply thick moisturizer while your skin is still slightly damp.
Stop immediately when you feel pain during removal. Pain signals that you're damaging healthy tissue underneath. Callus removal should feel like gentle pressure, never sharp or burning sensations.
Take your time with gentle techniques and stop at the first sign of pain to avoid permanent damage.
Frequently Asked Questions
What are calluses and how do they form?
Calluses are thick, hardened patches of skin that develop when your body tries to protect itself from repeated friction and pressure. They form as your skin's natural defense mechanism, building up layers of dead skin cells to create a protective barrier. Unlike smooth skin, calluses feel rough and often appear yellowish or grayish.
What's the difference between calluses and corns?
Don't confuse calluses with corns, which are smaller, deeper, and typically have a hard center surrounded by inflamed skin. For example, you might develop a callus across the ball of your foot from wearing tight shoes, while a corn would appear as a small, painful bump on your toe. Understanding this difference helps you choose the right removal approach and prevents permanent scarring.
What tools do I need to remove calluses at home?
You'll need a foot soak basin, a pumice stone or metal foot file (pumice stones are gentler for beginners), and thick moisturizing foot cream containing urea or lactic acid. You should also have clean towels and antiseptic solution like rubbing alcohol or hydrogen peroxide to sanitize your equipment. Most items are available at drugstores for under $20 total.
How long should I soak my feet before removing calluses?
Fill a basin with warm (not hot) water and soak for 10-15 minutes to soften the callused skin. This soaking step is crucial as it makes the dead skin easier and safer to remove. After soaking, pat your feet dry with a clean towel and identify the exact location and thickness of each callus.
When should I stop filing calluses to avoid injury?
Immediately stop filing when you notice the skin becoming pink or feeling tender to prevent injury. Use light, consistent strokes moving in one direction only with your pumice stone or foot file. The key is taking your time and using gentle pressure throughout the process to avoid damaging healthy skin underneath.
Disclaimer: This content is for informational purposes only and does not constitute medical advice. Always consult a qualified healthcare provider before making health decisions.