Pre-Treatment Consultation and Assessment

Your dermal filler journey begins with a comprehensive consultation where your provider evaluates your medical history and current health status. This includes reviewing any allergies, medications, previous cosmetic treatments, and skin conditions that might affect your procedure. Your doctor will ask about blood-thinning medications, recent dental work, or history of cold sores around the treatment area.
“A thorough consultation ensures your safety and helps achieve the natural-looking results you want.”
During the facial assessment, your provider examines your skin texture, facial anatomy, and areas of volume loss. They'll discuss your aesthetic goals and explain what dermal fillers can realistically achieve. For example, fillers excel at plumping lips and smoothing nasolabial folds, but cannot address skin laxity like a facelift would.
The informed consent process covers potential risks, including temporary swelling and bruising. While serious complications like permanent scarring are extremely rare with proper technique, your provider will explain all possibilities. You'll receive detailed pre-treatment instructions and have time to ask questions before scheduling your appointment.
Preparation and Numbing

Once your treatment plan is confirmed, your provider begins the preparation phase to ensure your comfort and safety. This careful preparation process helps minimize discomfort while reducing any risk of complications during your filler treatment.
Your provider removes all makeup, oils, and bacteria from the treatment area using medical-grade antiseptic solution.
A powerful anesthetic cream is applied and left for 15-20 minutes to ensure complete numbness.
Your provider marks injection points and measures facial proportions to ensure symmetrical, natural-looking results.
Medical history is reviewed one last time, and the specific filler product is confirmed before proceeding.
"Proper preparation is the foundation of every successful dermal filler treatment."
This methodical approach creates a sterile environment while maximizing your comfort throughout the procedure.
The Injection Process
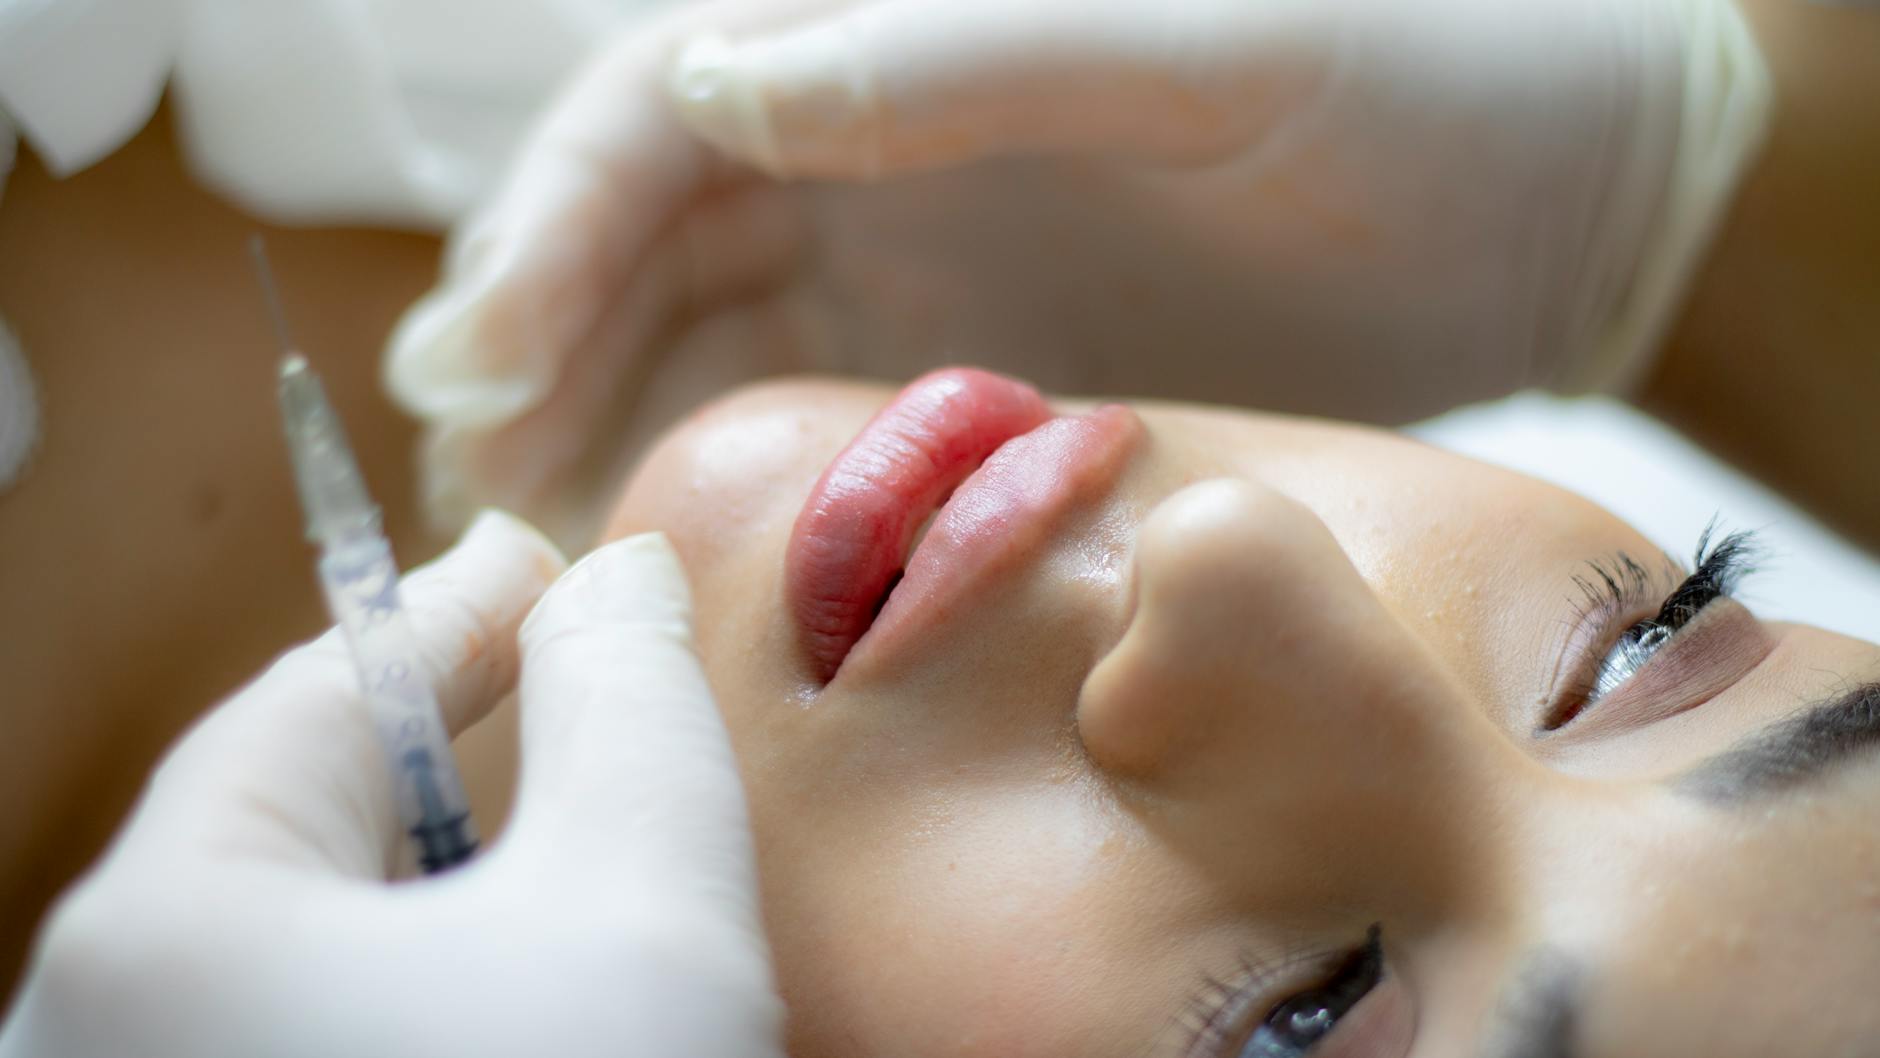
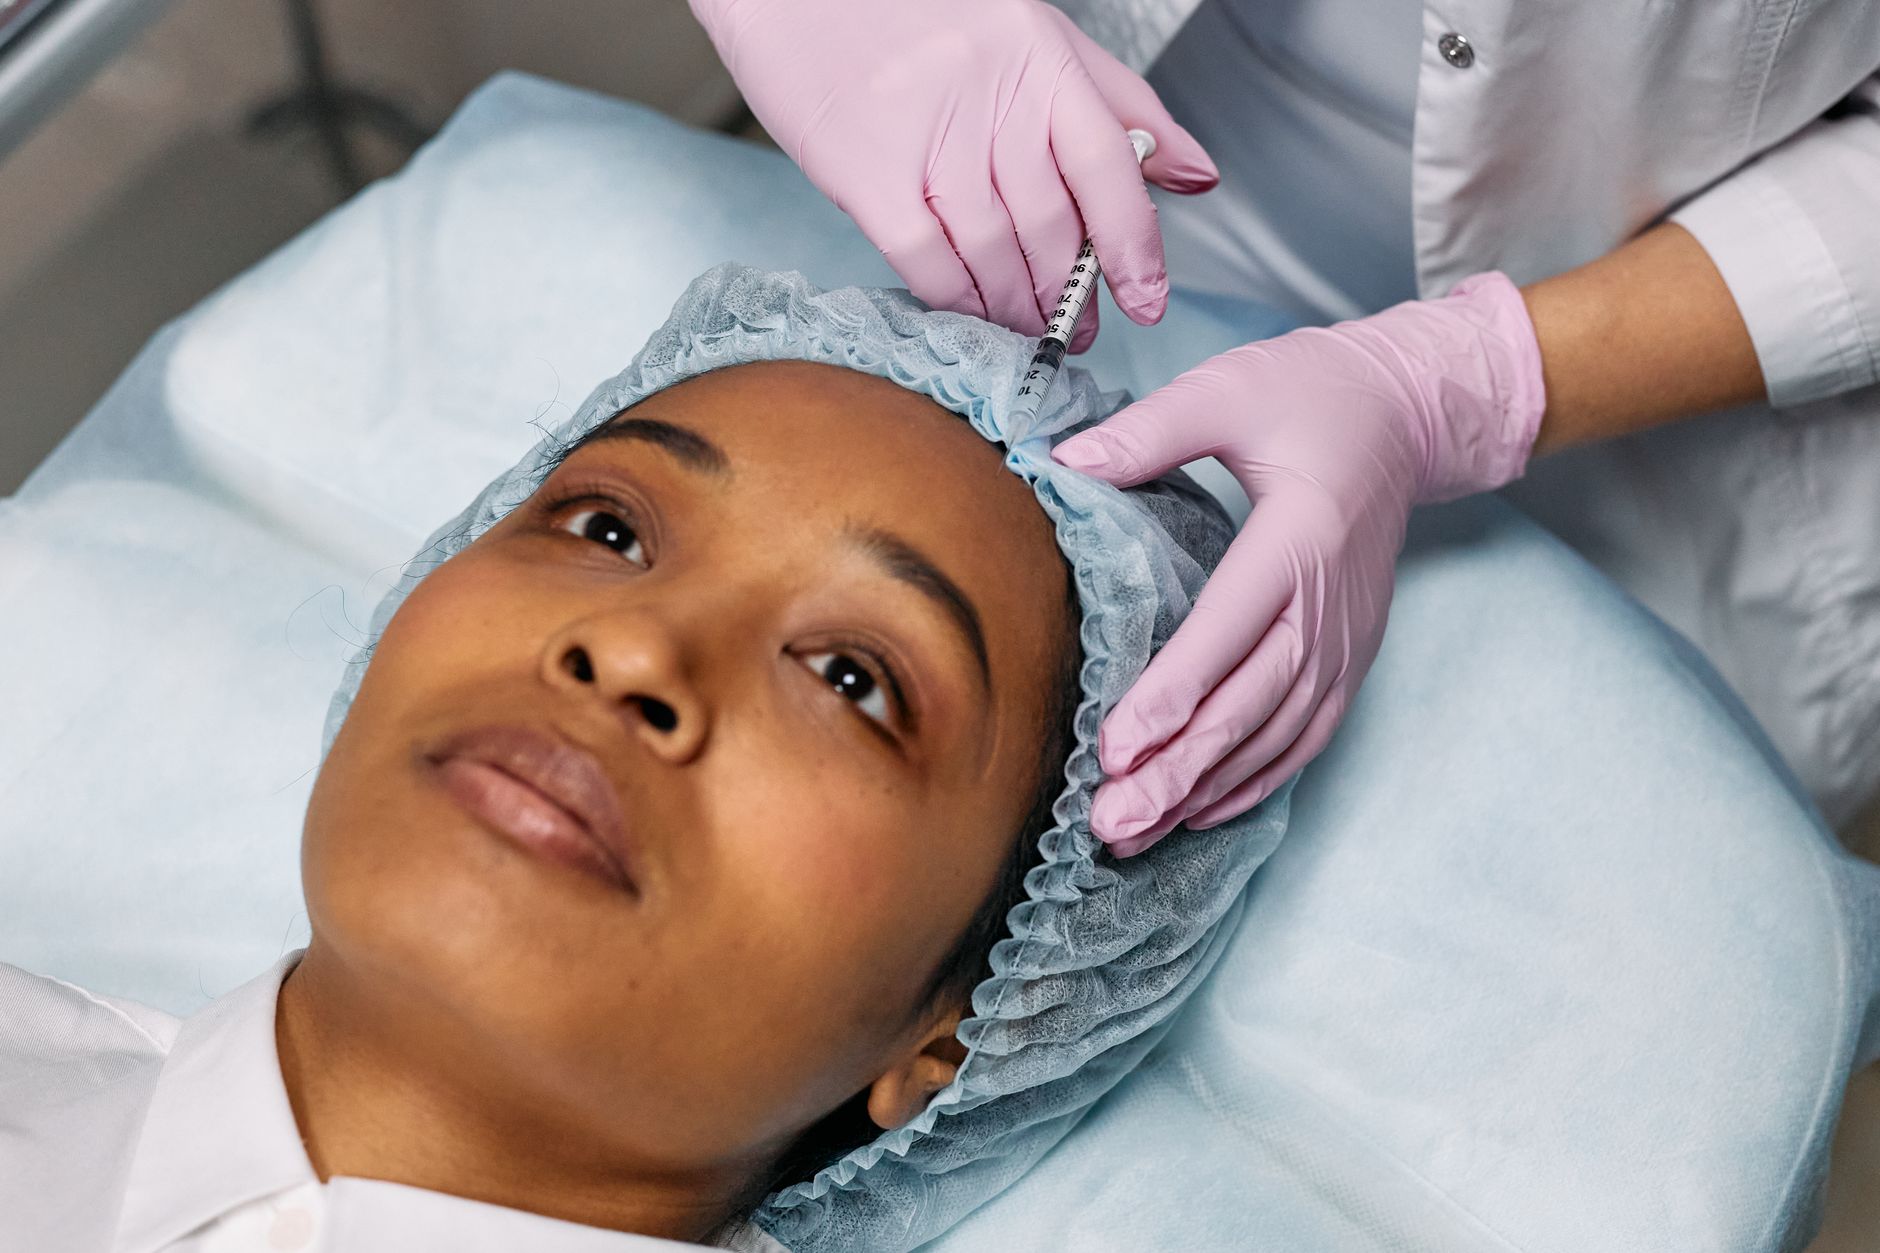
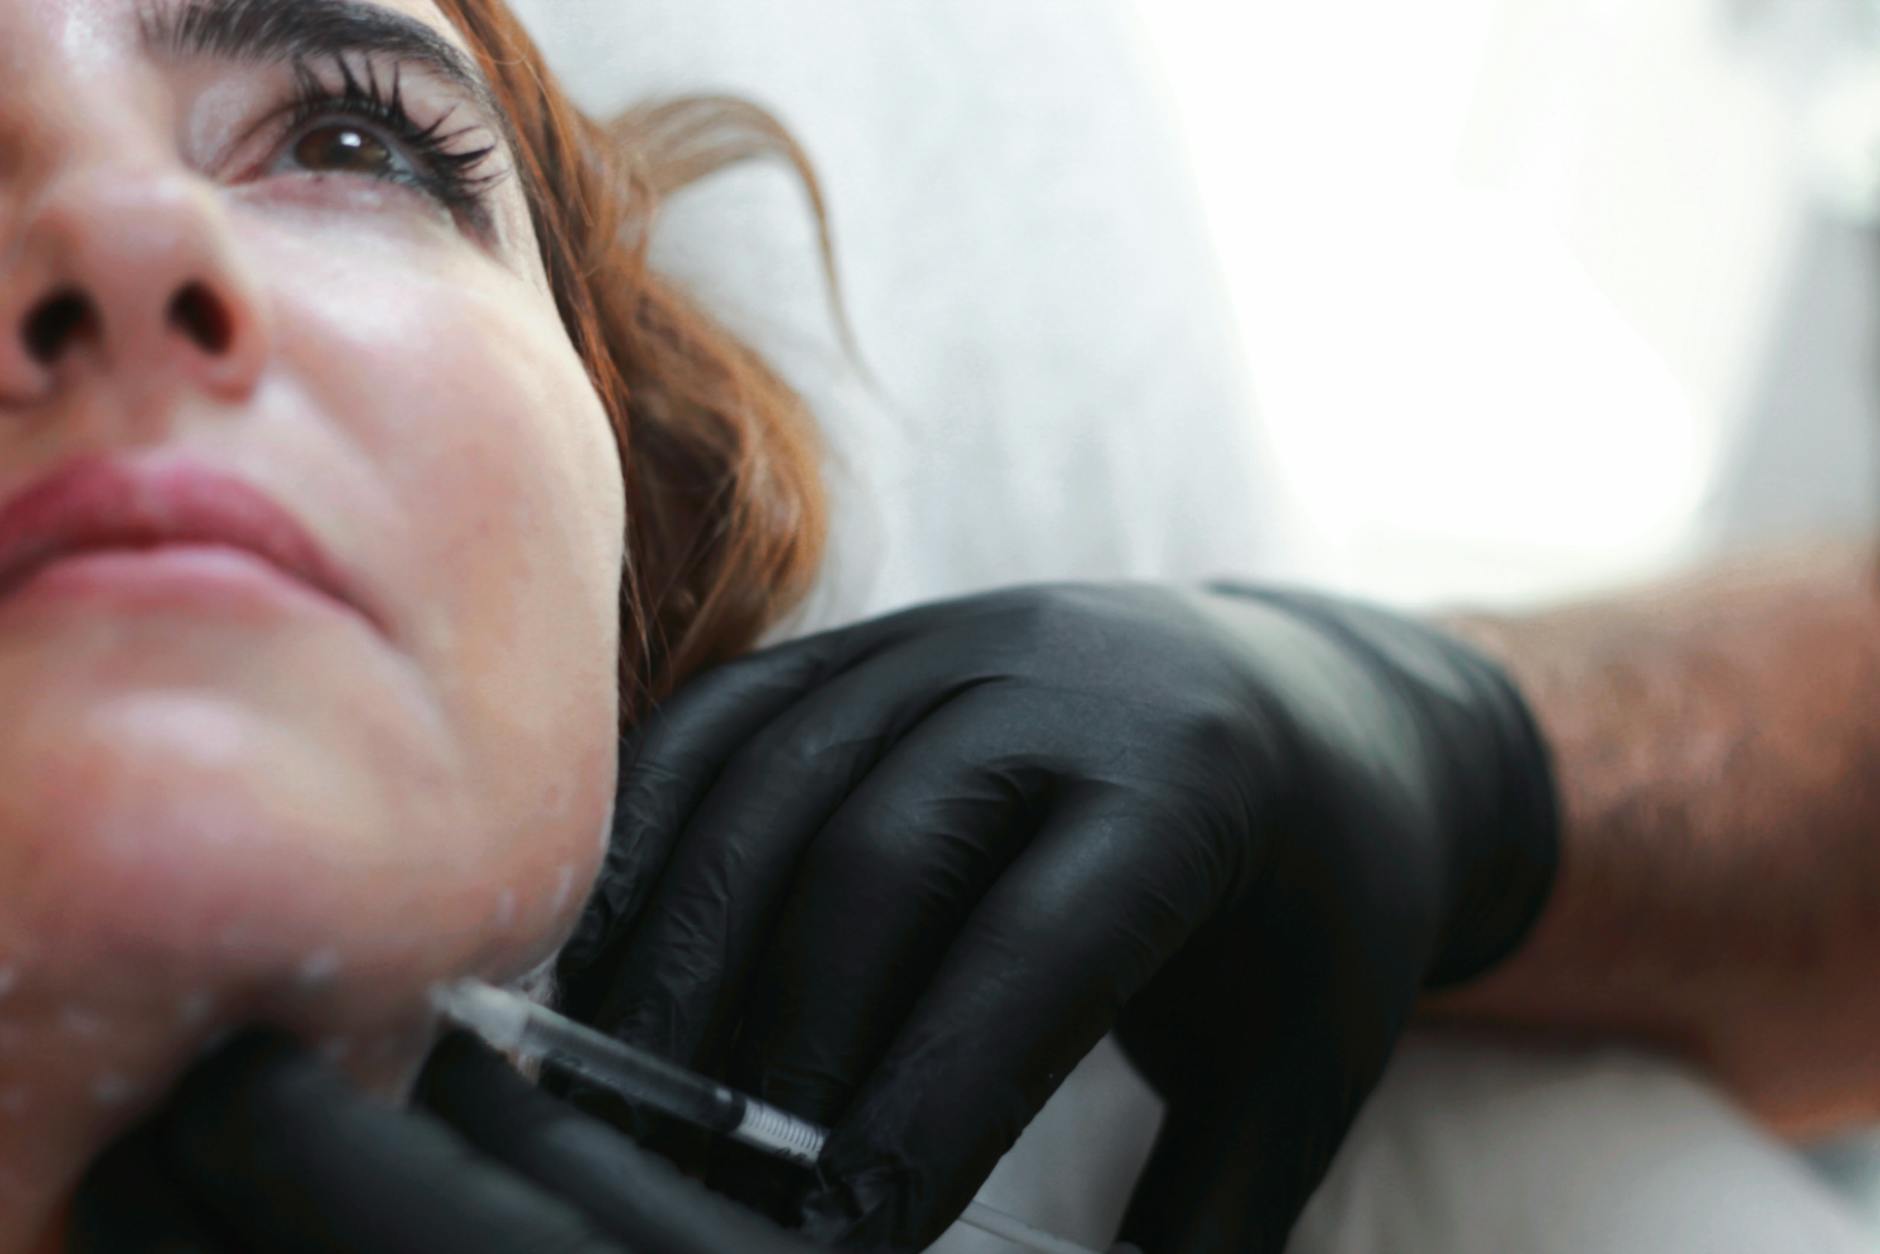
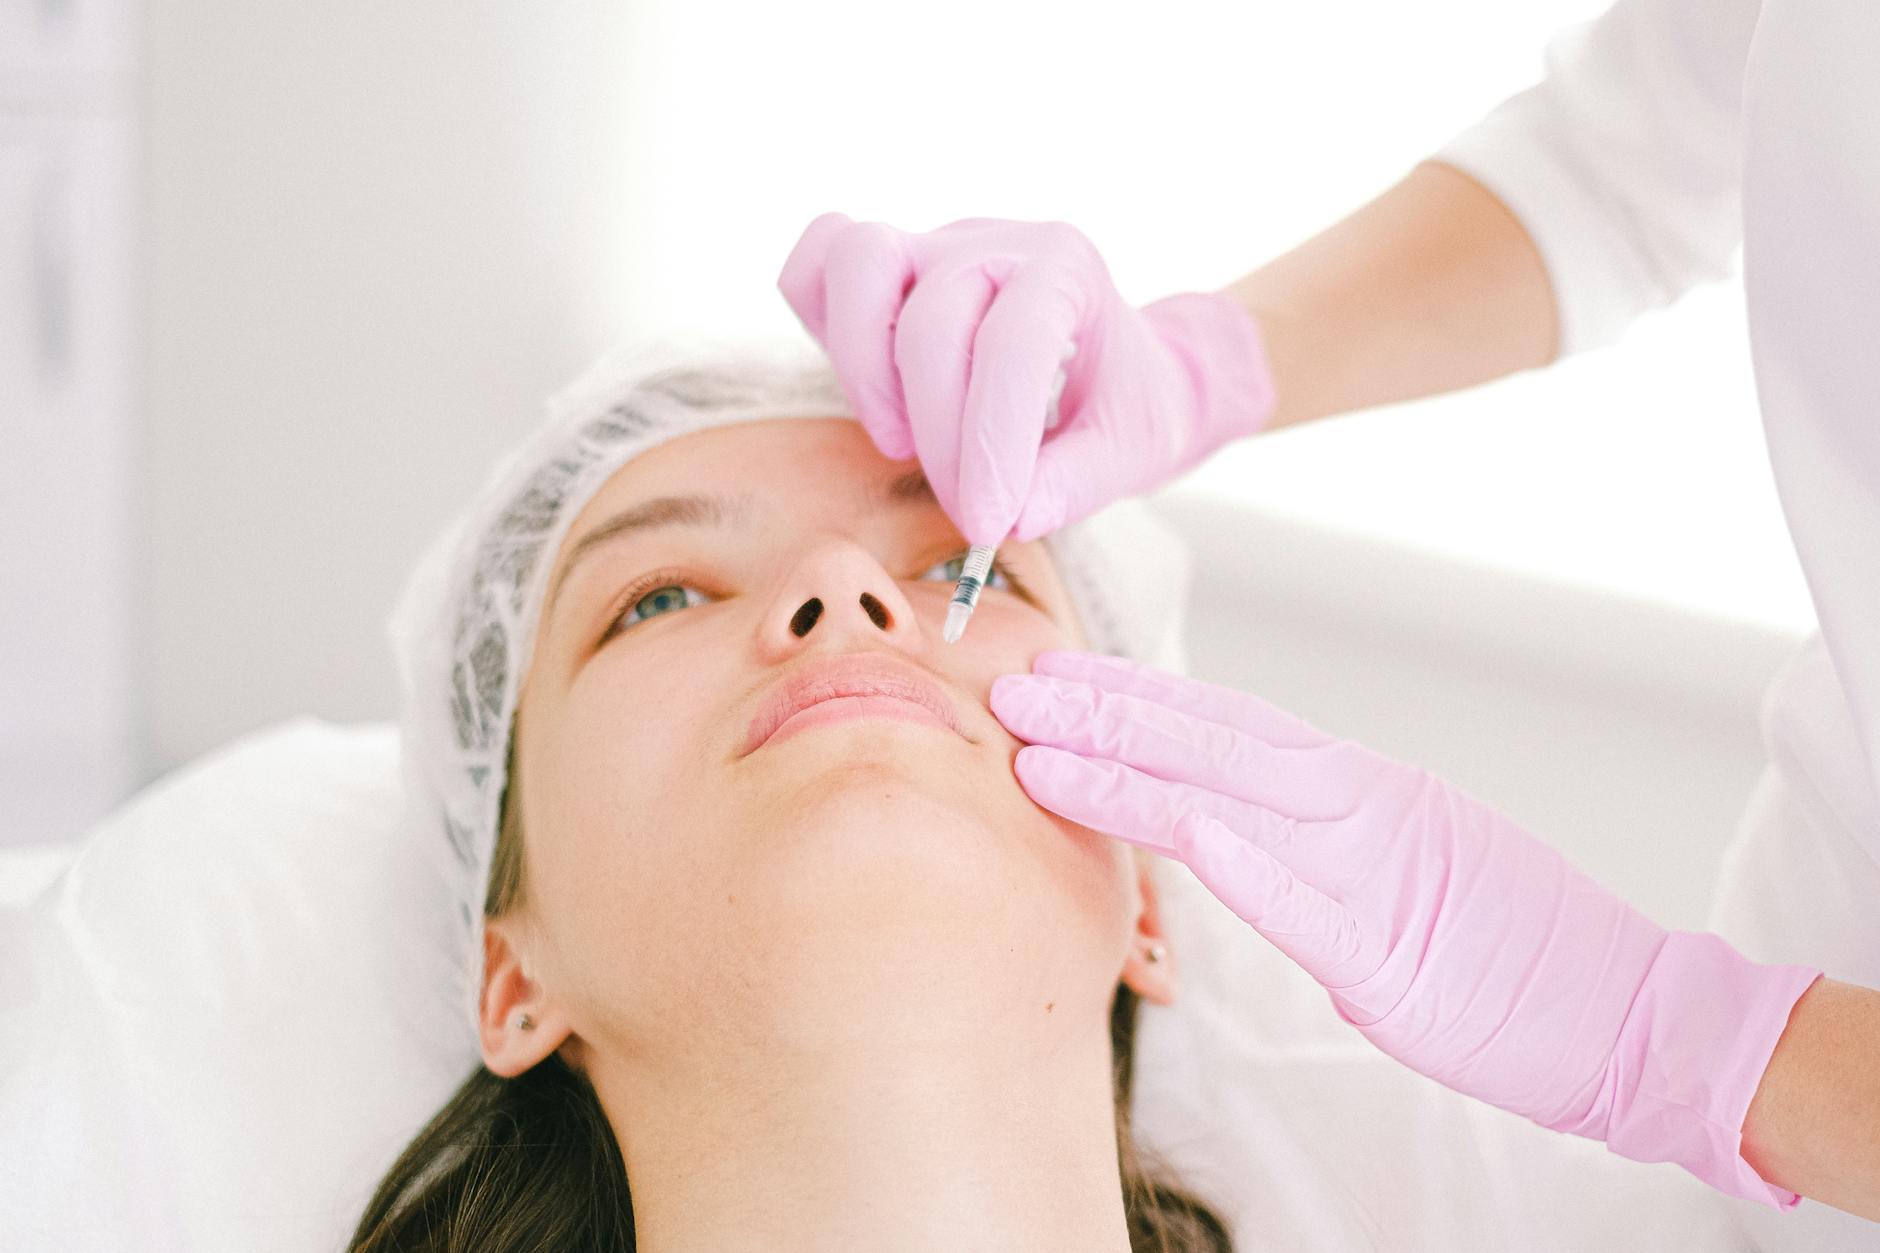
Your provider will begin with strategic needle placement at predetermined injection sites. The ultra-fine needles used for dermal fillers minimize tissue trauma, reducing the risk of visible marks or permanent scarring that many patients worry about.
The needle enters at a precise angle and depth for optimal product distribution.
Filler flows slowly while your provider monitors placement and volume.
Your provider assesses symmetry and makes immediate corrections if needed.
You'll feel brief pressure and possibly mild stinging during each injection. Most patients describe the sensation as similar to a mosquito bite that fades quickly. Multiple injection points across the treatment area ensure even distribution and natural-looking results.
Your provider continuously evaluates the outcome, making micro-adjustments between injection points. This real-time assessment prevents overcorrection and ensures balanced enhancement that complements your facial structure.
Immediate Post-Treatment Care

Right after your dermal filler injection, your provider will give you ice packs to reduce immediate swelling. Apply ice for 10-15 minutes every hour during the first day. Some bruising and tenderness are normal and won't cause permanent scarring.
Apply ice intermittently and avoid strenuous exercise for 24 hours.
Watch for normal swelling versus concerning signs like severe pain or infection.
Avoid touching the treated area, makeup for 12 hours, and intense heat like saunas. You'll see initial results immediately, though final results appear after swelling subsides in 2-3 days. Unlike Chemical Peels that require longer recovery, filler downtime is minimal. Contact your provider if you experience severe pain, excessive swelling, or signs of infection rather than normal post-treatment effects.
Recovery Timeline and Follow-Up
Your dermal filler recovery follows a predictable pattern over the first two weeks. Days 1-3 bring mild swelling and possible bruising at injection sites. By day 5, most visible side effects fade significantly. The swelling completely resolves within 7-10 days for most patients.
Final results become apparent after two weeks when all inflammation subsides and the filler settles naturally. Your skin appears smooth without the temporary puffiness that initially concerns many patients.
Schedule your follow-up appointment 2-3 weeks post-treatment. Your provider will assess the results and determine if touch-ups are needed. Minor adjustments occur in about 20% of cases to achieve optimal symmetry and volume.
Touch-up treatments use smaller amounts of filler to refine specific areas. These refinements ensure natural-looking results that enhance your features rather than creating an artificial appearance.
Allow two full weeks for final results and attend your follow-up appointment to ensure optimal outcomes.
Frequently Asked Questions
What happens during a dermal filler consultation?
During a dermal filler consultation, your provider evaluates your medical history, allergies, medications, and current health status. They examine your facial anatomy, skin texture, and areas of volume loss while discussing your aesthetic goals. The provider explains what dermal fillers can realistically achieve and covers potential risks through an informed consent process.
How do providers prepare the skin before dermal filler injections?
The preparation process involves thorough skin cleansing with medical-grade antiseptic solution to remove makeup, oils, and bacteria. A topical numbing cream is applied for 15-20 minutes to ensure complete numbness. Your provider then marks precise injection points and measures facial proportions before doing a final safety verification.
Does getting dermal fillers hurt?
Dermal filler treatments involve minimal discomfort thanks to topical numbing cream applied for 15-20 minutes before the procedure. Ultra-fine needles are used to minimize tissue trauma and reduce visible marks. You'll feel brief pressure during the injection process, but the numbing ensures your comfort throughout the treatment.
What can dermal fillers treat and what are their limitations?
Dermal fillers excel at plumping lips, smoothing nasolabial folds, and restoring volume to areas of facial volume loss. However, they cannot address skin laxity issues that would require procedures like a facelift. Your provider will explain what fillers can realistically achieve during your consultation based on your specific aesthetic goals.
What are the risks and side effects of dermal fillers?
Common side effects include temporary swelling and bruising at the injection sites. Serious complications like permanent scarring are extremely rare when proper injection technique is used. Your provider will explain all potential risks during the informed consent process and answer any questions you have about the procedure.
Disclaimer: This content is for informational purposes only and does not constitute medical advice. Always consult a qualified healthcare provider before making health decisions.