Pre-Procedure Preparation in the Office

When you arrive at the dermatology clinic for your electrosurgery curettage procedure, the preparation process begins immediately. Your healthcare team will guide you through several important steps to ensure your safety and the best possible outcome for your skin.
The staff will verify your identity and review the informed consent form with you, explaining the procedure and addressing any last-minute questions.
The treatment area will be thoroughly cleaned with an antiseptic solution to remove bacteria and reduce infection risk.
Your dermatologist will mark the exact borders of the lesion or growth to be removed using a surgical marker.
Medical photographs will be taken for your records to document the before condition and track healing progress.
Many patients worry about visible scarring after the procedure. While some scarring is possible with any skin removal technique, electrosurgery curettage typically produces minimal scarring when performed by experienced dermatologists. The careful marking and photography help your doctor plan the most precise approach.
"Proper preparation sets the foundation for successful healing and optimal cosmetic results."
Local Anesthesia Administration

Your dermatologist will numb the treatment area using lidocaine, a local anesthetic that blocks pain signals. The injection feels like a brief pinch or bee sting, followed by a mild burning sensation that lasts 10-15 seconds. Most patients describe this as the most uncomfortable part of the entire procedure.
“The numbing injection is typically the only discomfort you'll feel during the entire electrosurgery curettage procedure.”
The anesthesia takes 5-10 minutes to reach full effectiveness. Your doctor will inject the medication around and beneath the lesion, creating a small raised bump at the injection site. This temporary swelling helps separate the tissue and makes the procedure easier to perform.
Before beginning the curettage, your dermatologist will test the numbness by gently touching the area with a probe or instrument. You should feel pressure but no pain. If you experience any sharp sensations, additional anesthetic will be administered. This careful testing ensures your comfort throughout the procedure and helps prevent any scarring that could result from patient movement due to unexpected pain.
The entire numbing process typically takes 10-15 minutes from injection to confirmed anesthesia.
Curettage: Scraping Away the Lesion
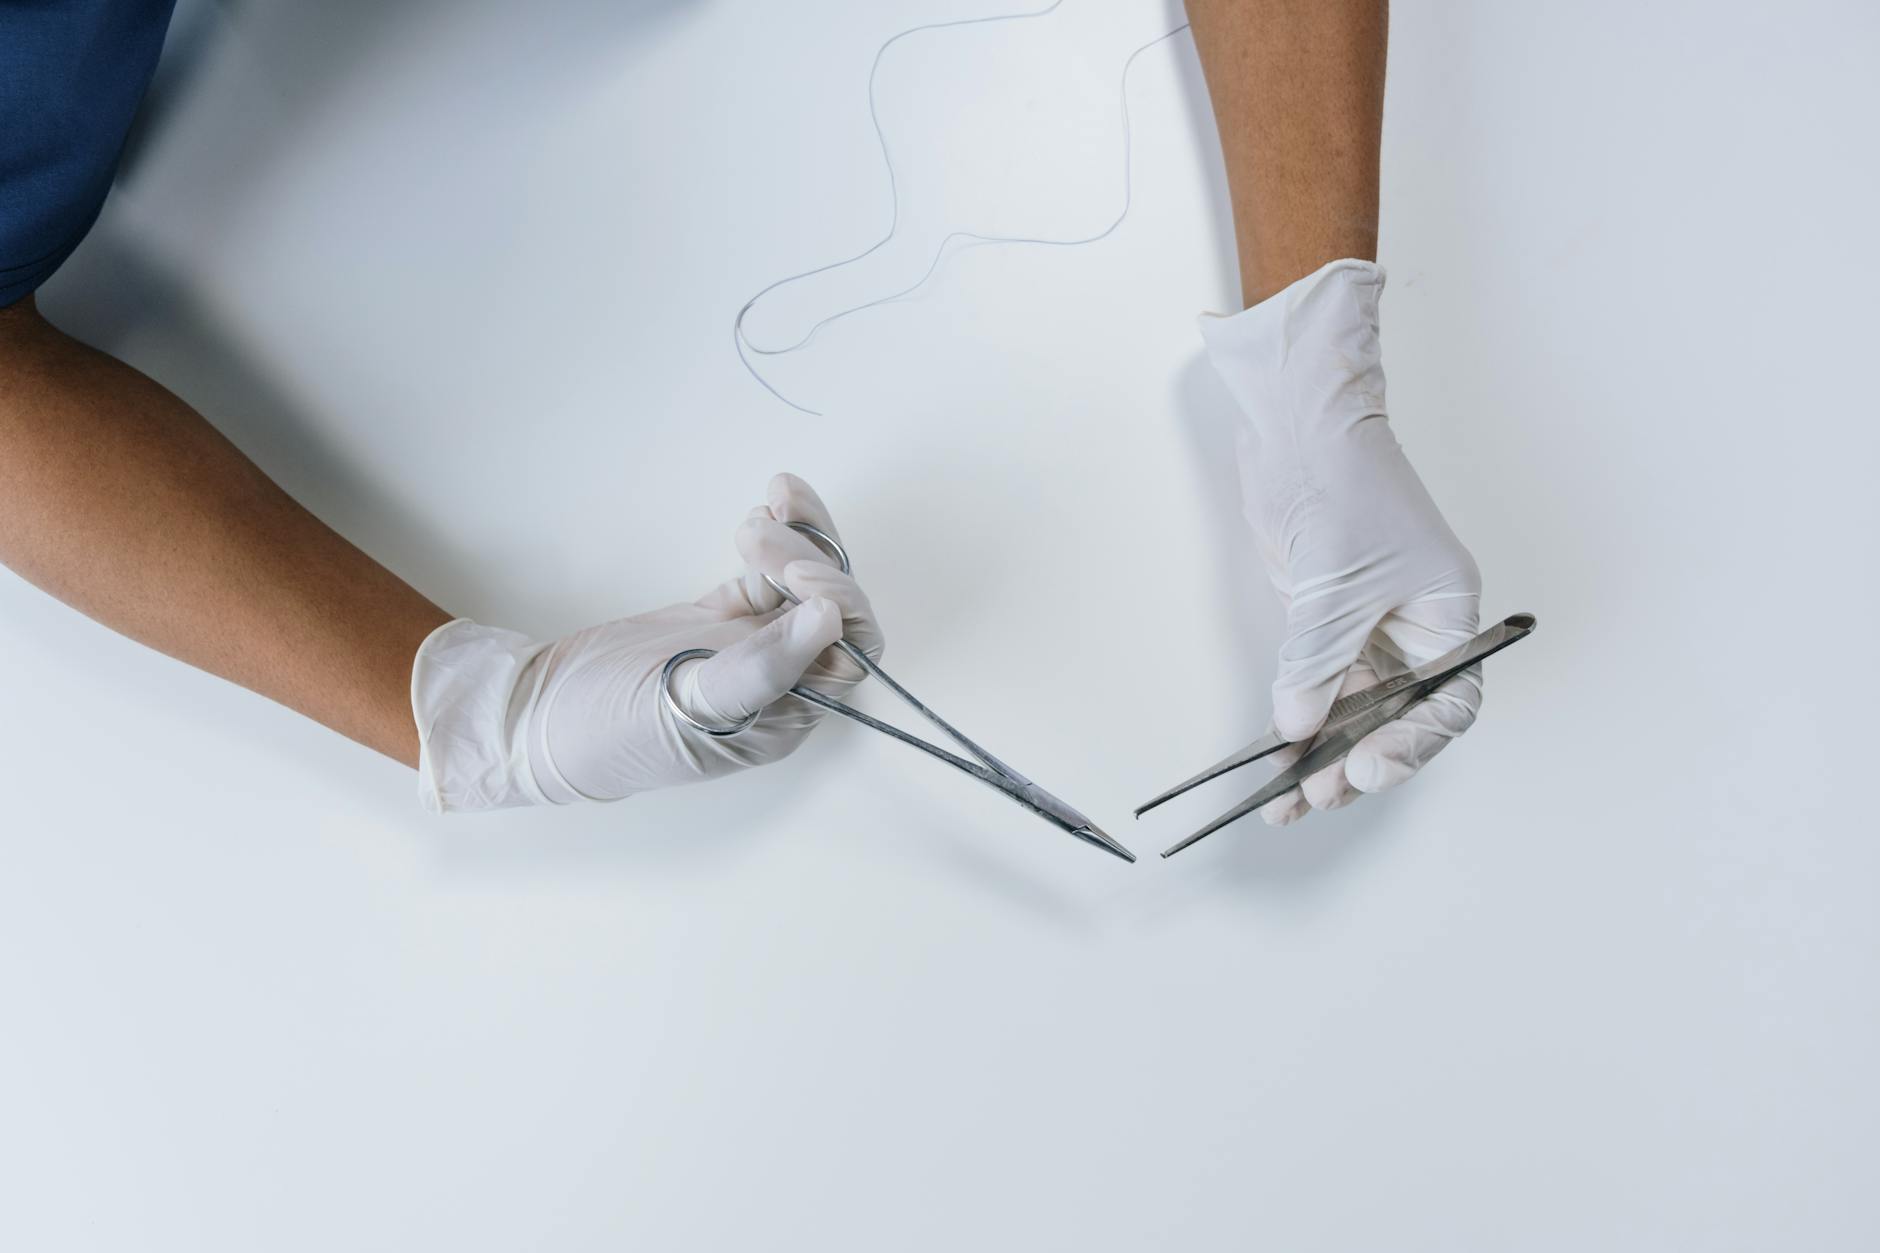
Once the anesthesia takes effect, your dermatologist begins the actual removal using a curette—a small, sharp-edged spoon-shaped instrument. The curette works by scraping away abnormal tissue layer by layer, similar to how you might scoop out the inside of an avocado. The instrument's curved edge allows precise control as your doctor removes only the targeted lesion while preserving healthy surrounding skin.
Your doctor applies gentle pressure while moving the curette across the lesion surface.
The process repeats until all abnormal tissue is removed and healthy tissue appears.
Your doctor inspects the removed material and wound bed to ensure complete removal.
You'll feel pressure and scraping sensations during this stage, but no pain thanks to the local anesthetic. Most patients describe it as feeling like someone gently scratching their skin. The procedure requires multiple passes to ensure complete removal—your doctor continues scraping until they reach healthy tissue, which appears pink and bleeds slightly. This thoroughness helps prevent recurrence and minimizes the risk of permanent scarring that many patients worry about. The entire scraping process typically takes just a few minutes, depending on the lesion's size and depth.
Electrosurgery: Cauterizing the Treatment Site
After your dermatologist removes the skin lesion with the curette, they immediately apply electrocautery to the treated area. This electrical process serves three critical purposes: stopping any bleeding from the scraping, destroying remaining abnormal cells, and creating a protective scab that promotes proper healing.
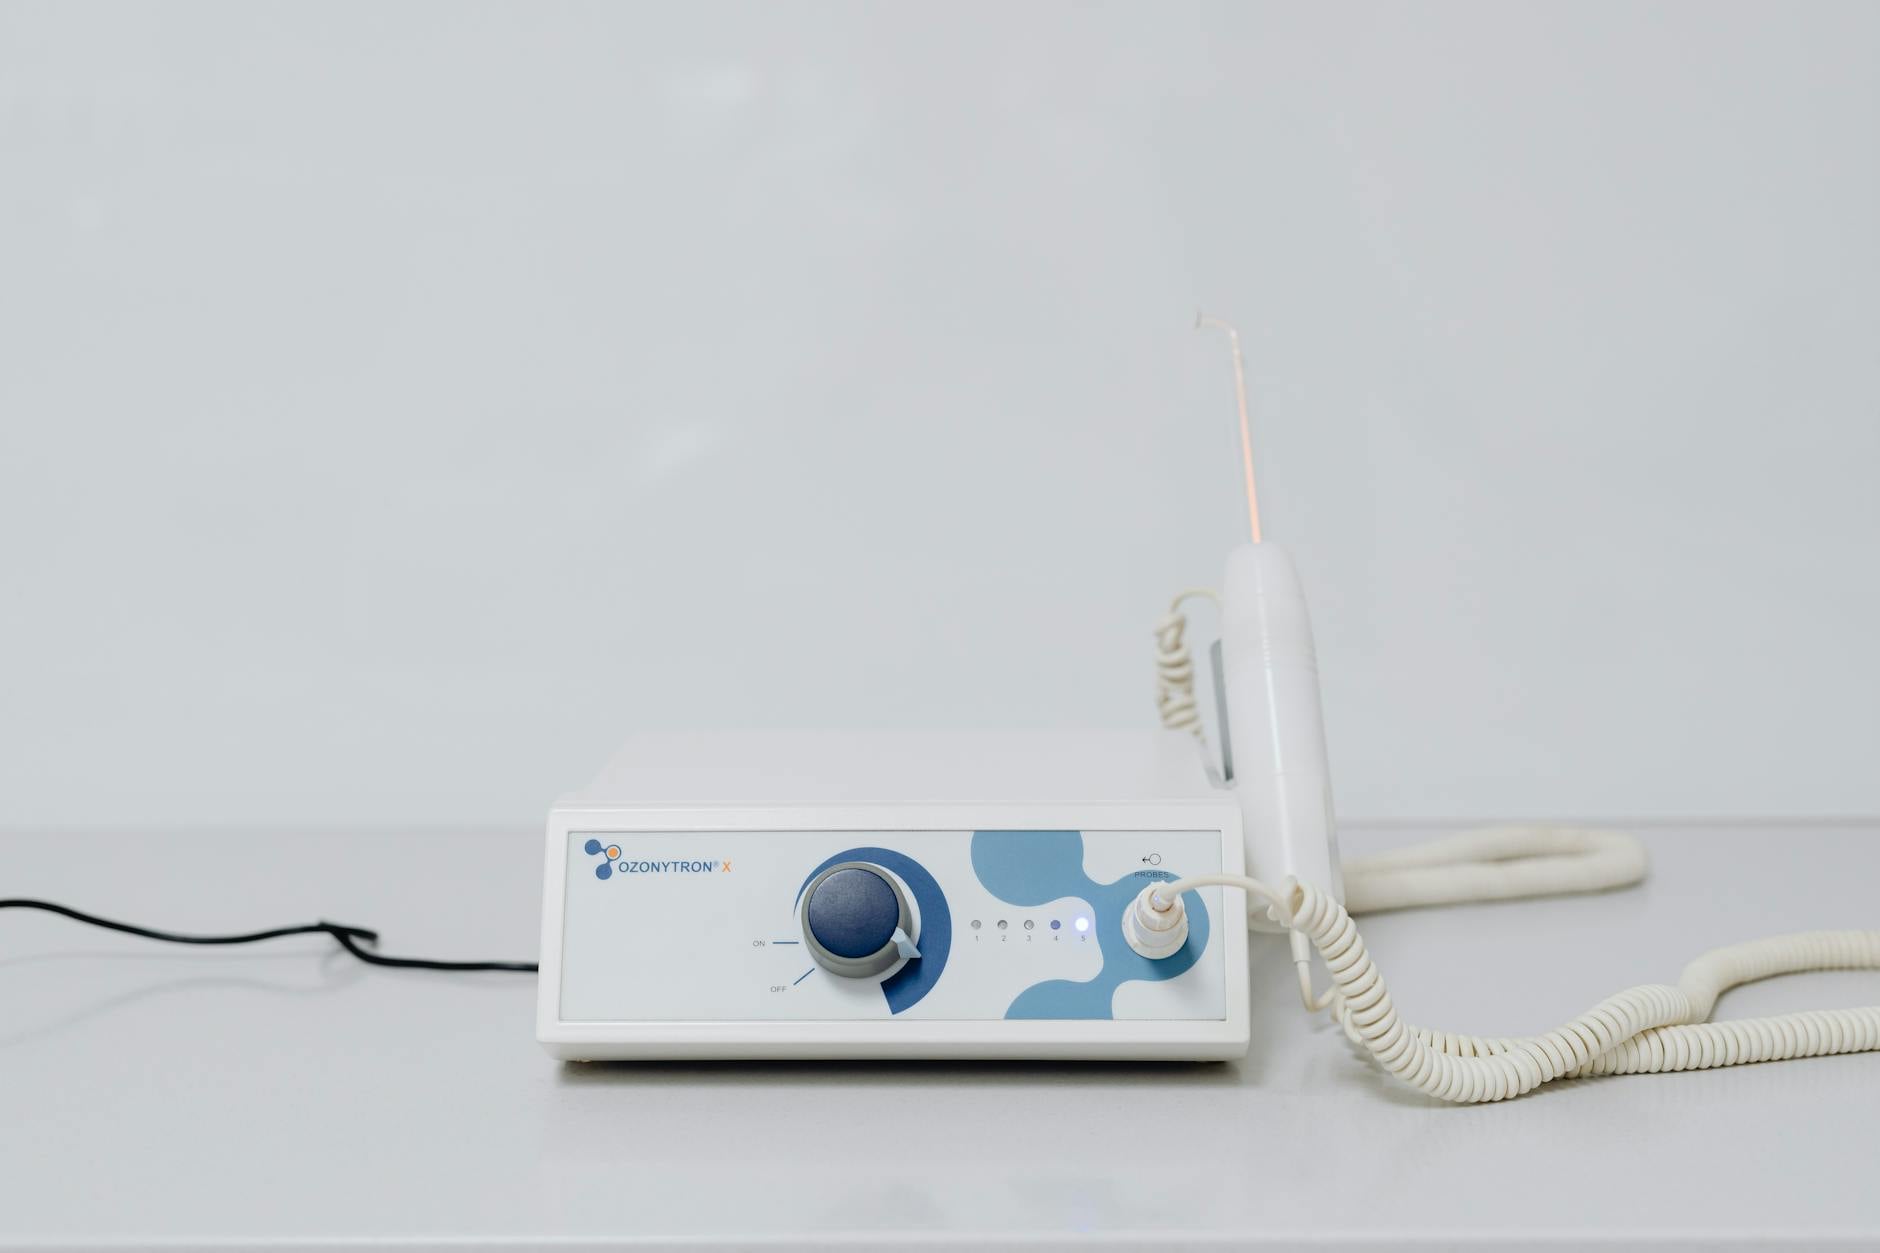
The electrosurgical unit delivers controlled electrical current through a small metal tip. You'll hear a brief buzzing sound as the current activates, and you may notice a faint burning smell—this is completely normal and indicates the treatment is working effectively. The electrical energy heats the tissue instantly, sealing blood vessels and creating a dry, cauterized surface.
Your doctor will apply the electrocautery in short, precise bursts across the entire treatment site. While this might sound concerning, the procedure causes minimal discomfort since the area remains numbed from your initial injection. The goal is complete coverage to ensure no abnormal cells remain.
The cauterization creates an immediate protective scab that acts as your body's natural bandage. This scab will appear dark brown or black and may look alarming, but it's exactly what your skin needs to heal properly. The controlled cauterization actually helps minimize scarring by promoting organized tissue repair rather than chaotic healing that could leave permanent marks.
Wound Care and Bandaging

Immediately after cauterization, your doctor will apply antibiotic ointment to prevent infection and promote healing. This creates a protective barrier over the treated area while keeping the wound moist, which reduces the risk of permanent scarring that many patients worry about.
A thin layer of antibiotic ointment covers the entire treatment site.
Non-stick gauze and medical tape secure the dressing while allowing air circulation.
You'll receive specific guidelines for cleaning and changing bandages at home.
Your doctor will explain how to keep the area clean and dry for the first 24-48 hours. Unlike more intensive treatments such as Chemical Peels, which require extended recovery periods, electrosurgery curettage wounds typically heal within 1-2 weeks with proper care. You'll change the bandage daily, gently clean the area with mild soap, and reapply ointment until the skin forms a protective scab.
What to Expect as You Leave
Most patients experience mild discomfort and redness for 24-48 hours after the procedure. Your treated area may feel tender to touch, similar to a minor scrape or burn. This is completely normal and indicates proper healing.
Schedule your follow-up appointment within 7-14 days to ensure proper healing and address any concerns. Your dermatologist will examine the treated area and determine if additional treatment is needed.
Watch for warning signs that require immediate medical attention: excessive bleeding that doesn't stop with gentle pressure, signs of infection like increased warmth or pus, or severe pain that worsens after 48 hours. While scarring concerns are understandable, proper aftercare significantly reduces this risk.
Resume normal activities gradually, avoiding strenuous exercise for 24 hours. Most patients see initial healing within one week.
Follow your dermatologist's aftercare instructions precisely to minimize scarring risk and achieve the clear skin you want.
Frequently Asked Questions
Will electrosurgery curettage leave a scar?
While some scarring is possible with any skin removal technique, electrosurgery curettage typically produces minimal scarring when performed by experienced dermatologists. The careful marking and photography help your doctor plan the most precise approach to minimize scarring.
How painful is the local anesthesia injection?
The lidocaine injection feels like a brief pinch or bee sting, followed by a mild burning sensation that lasts 10-15 seconds. Most patients describe this as the most uncomfortable part of the entire procedure. The numbing injection is typically the only discomfort you'll feel during the entire electrosurgery curettage procedure.
How long does it take for the anesthesia to work?
The anesthesia takes 5-10 minutes to reach full effectiveness after injection. The entire numbing process typically takes 10-15 minutes from injection to confirmed anesthesia. Your dermatologist will test the numbness before beginning the procedure to ensure your comfort.
What happens during the preparation before the procedure?
The preparation includes check-in and consent review, thorough skin cleansing with antiseptic solution, marking the exact borders of the lesion, and taking medical photographs for your records. This process ensures your safety and helps your doctor plan the most precise approach for the best possible outcome.
What is a curette and how does it work?
A curette is a small, sharp-edged spoon-shaped instrument used to scrape away abnormal tissue layer by layer, similar to scooping out the inside of an avocado. The instrument's curved edge allows precise control as your doctor removes only the targeted lesion while preserving healthy surrounding skin.
Disclaimer: This content is for informational purposes only and does not constitute medical advice. Always consult a qualified healthcare provider before making health decisions.