Why Knowing the Procedure Steps Matters

Understanding what happens during Mohs surgery transforms an intimidating experience into a manageable process. When you know each step beforehand, your mind focuses on healing rather than worrying about the unknown. This knowledge directly reduces the anxiety that many patients feel before their procedure.
“Knowledge about your procedure is the best medicine for pre-surgery nerves.”
Knowing the procedure steps helps you give truly informed consent. Your surgeon will explain the process, but having background knowledge allows you to ask better questions and understand the reasoning behind each technique. This understanding builds confidence in your treatment plan.
Preparation becomes much easier when you understand the timeline and what each stage requires. You can plan your day accordingly, arrange proper aftercare, and know when to expect results. While concerns about scarring are natural, understanding how Mohs surgery minimizes tissue removal while ensuring complete cancer removal helps address these worries with facts rather than fear.
Pre-Procedure Preparation Phase
Before your Mohs surgery begins, your medical team carefully prepares both you and the treatment area to ensure the safest, most effective procedure possible. This preparation phase typically takes 30-45 minutes and sets the foundation for successful treatment.
Your surgeon will first review your complete medical history, including current medications, allergies, and any previous skin treatments. This review helps identify potential complications and ensures the procedure plan matches your specific needs. For example, if you take blood-thinning medications, your doctor may provide special instructions about when to pause them before surgery.
“Proper preparation eliminates most complications and helps achieve the best cosmetic results possible.”
The informed consent process follows, where your surgeon explains the procedure details, potential risks, and expected outcomes. While concerns about scarring are natural, your surgeon will discuss specific techniques they use to minimize visible marks and optimize healing.
Finally, the treatment area receives thorough cleaning and local anesthesia injection. The numbing medication works within minutes, ensuring you feel no pain during tissue removal. Most patients describe the injection as similar to getting a dental filling—brief discomfort followed by complete numbness that lasts throughout the entire procedure.
Step 1: Initial Tumor Removal

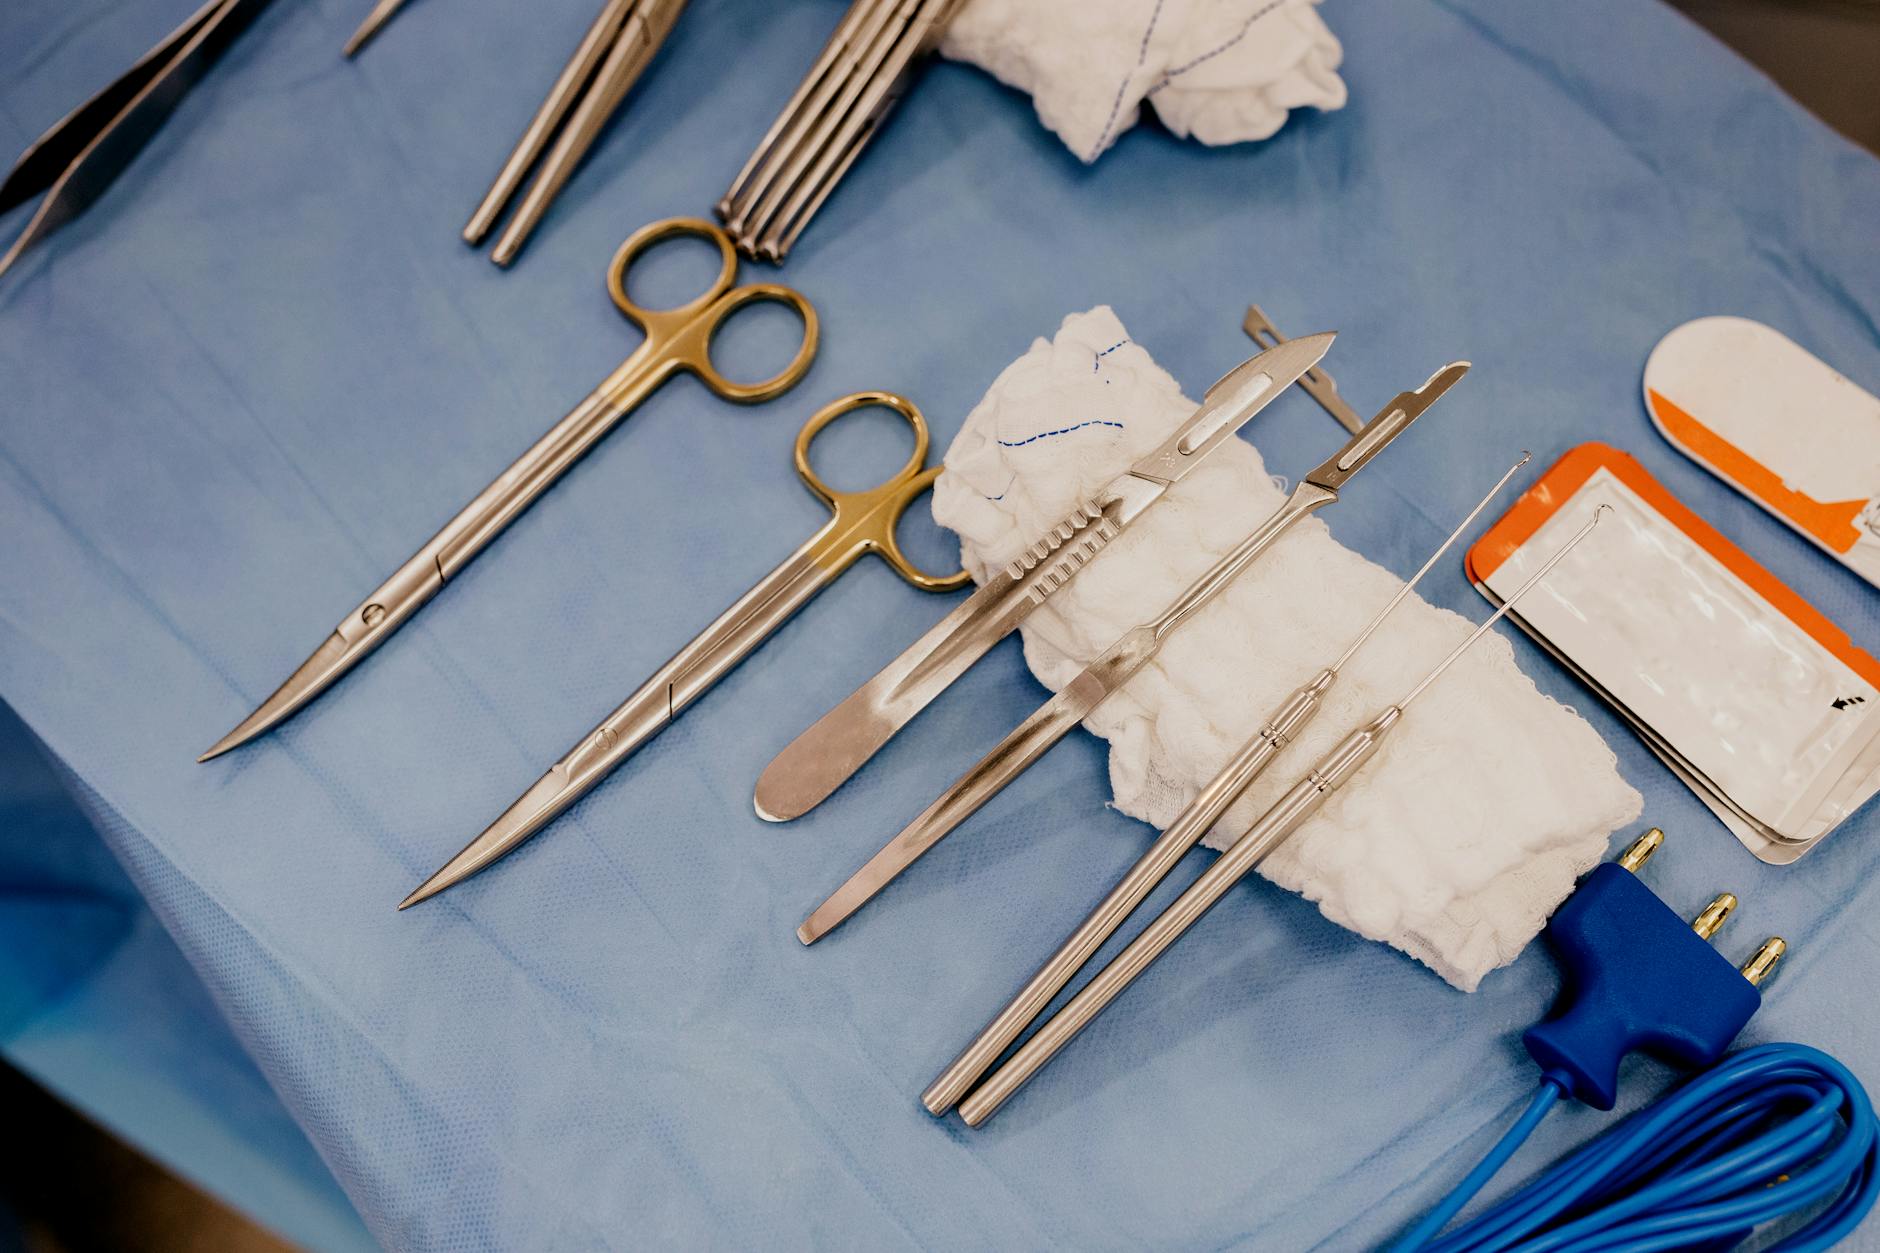
The first step begins with your surgeon carefully removing the visible portion of your skin cancer using a specialized technique called map-guided removal. Your dermatologist will first outline the tumor boundaries with a surgical marker, creating a precise roadmap for the procedure. This initial mapping ensures complete removal while preserving as much healthy tissue as possible.
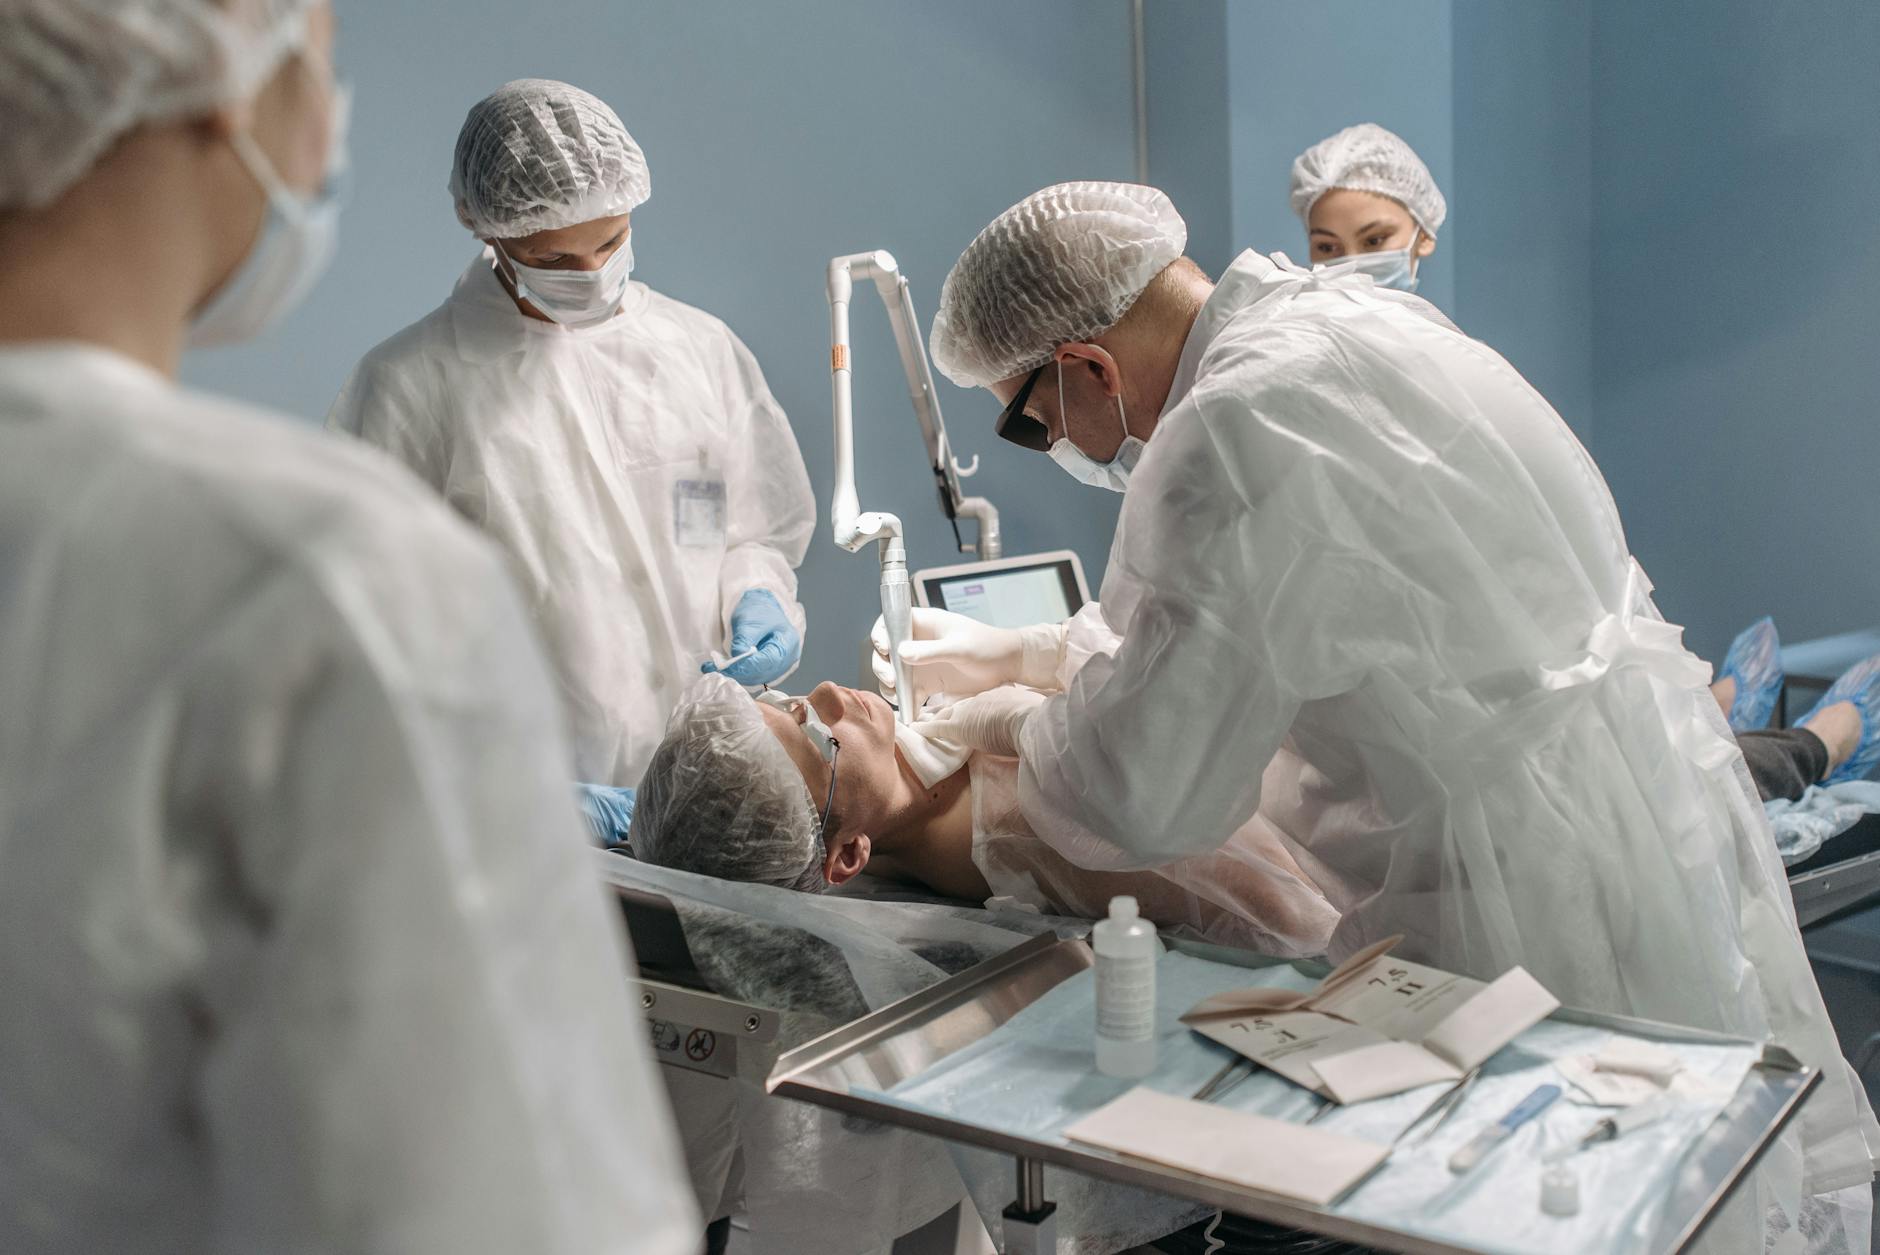
Your surgeon will then remove the visible tumor tissue along with a thin margin of surrounding skin. The removal process feels similar to having a mole removed—you'll experience minimal discomfort thanks to the local anesthetic administered during preparation. Most patients describe feeling only slight pressure during this phase.
The removed tissue is immediately labeled with colored dyes and sent to the on-site laboratory for microscopic examination. Your surgeon creates a detailed map showing exactly where each piece of tissue came from on your body. This meticulous tissue handling process ensures accurate analysis and targeted removal of any remaining cancer cells.
While this step addresses your concern about scarring by removing only what's necessary, the procedure's precision minimizes tissue loss and promotes better healing outcomes.
Step 2: Laboratory Analysis
After the surgeon removes the first tissue layer, your sample goes immediately to an on-site laboratory for detailed examination. This quick processing time sets Mohs surgery apart from traditional excision methods, where patients wait days for pathology results.
The laboratory technician freezes your tissue sample and cuts it into paper-thin sections using a specialized machine called a cryostat. This freezing process preserves the cellular structure while allowing microscopic examination within minutes rather than the typical 24-48 hour wait period.
Technician freezes tissue and creates microscopic slides for examination.
Surgeon examines 100% of surgical margins under high-powered microscope for cancer cells.
During this 15-30 minute analysis period, you'll wait comfortably in the office. The surgeon examines every edge of the removed tissue to determine if cancer cells remain. This thorough examination ensures minimal healthy tissue removal while achieving complete cancer clearance, reducing your risk of visible scarring.
Step 3: Additional Layers (If Needed)
When the laboratory analysis reveals cancer cells remain in the tissue sample, your surgeon removes another thin layer from the specific area where cancer was detected. This targeted approach protects healthy skin while ensuring complete cancer removal.
Your surgeon identifies exactly where cancer cells were found using the tissue map.
Only the affected area gets another thin layer removed, sparing surrounding healthy skin.
The new tissue sample goes back to the lab for immediate examination.
This process repeats until clear margins are achieved. Most skin cancers require only one or two layers for complete removal. By taking minimal amounts of tissue each time, Mohs surgery minimizes scarring while ensuring your cancer is completely eliminated. The precision of this method means you keep as much healthy skin as possible.
Step 4: Wound Reconstruction

Once your surgeon confirms all cancer cells are removed, the final step focuses on closing and reconstructing the wound. This phase happens immediately during the same appointment, so you won't need to return for a separate procedure.
Your surgeon will choose the best reconstruction method based on the wound's size, location, and depth. Small defects may simply be sutured closed in a straight line. Larger areas might require a skin flap, where nearby healthy skin is moved to cover the wound, or a skin graft taken from another part of your body. The goal is restoring both function and appearance.
For facial wounds, surgeons pay special attention to maintaining natural contours and minimizing visible scarring. They align incisions with natural skin creases when possible. While some scarring is inevitable, Mohs surgery typically produces better cosmetic results than traditional excision because it removes less healthy tissue.
Your surgeon will provide specific aftercare instructions to promote optimal healing and reduce scarring risk.
What to Expect: Timeline and Recovery
Most Mohs surgery procedures take 2-4 hours, though complex cases may require a full day. The actual removal of each tissue layer takes only minutes, but you'll spend most of your time waiting while the lab processes and examines each specimen. Plan to stay at the surgical center for the entire day.
Immediately after surgery, your wound will be covered with a pressure bandage to control bleeding and protect the surgical site. Keep this initial dressing dry and intact for 24 hours. Some bleeding, swelling, and discomfort are normal during the first few days. Your surgeon will provide specific wound care instructions, including how to clean the area and when to change bandages.
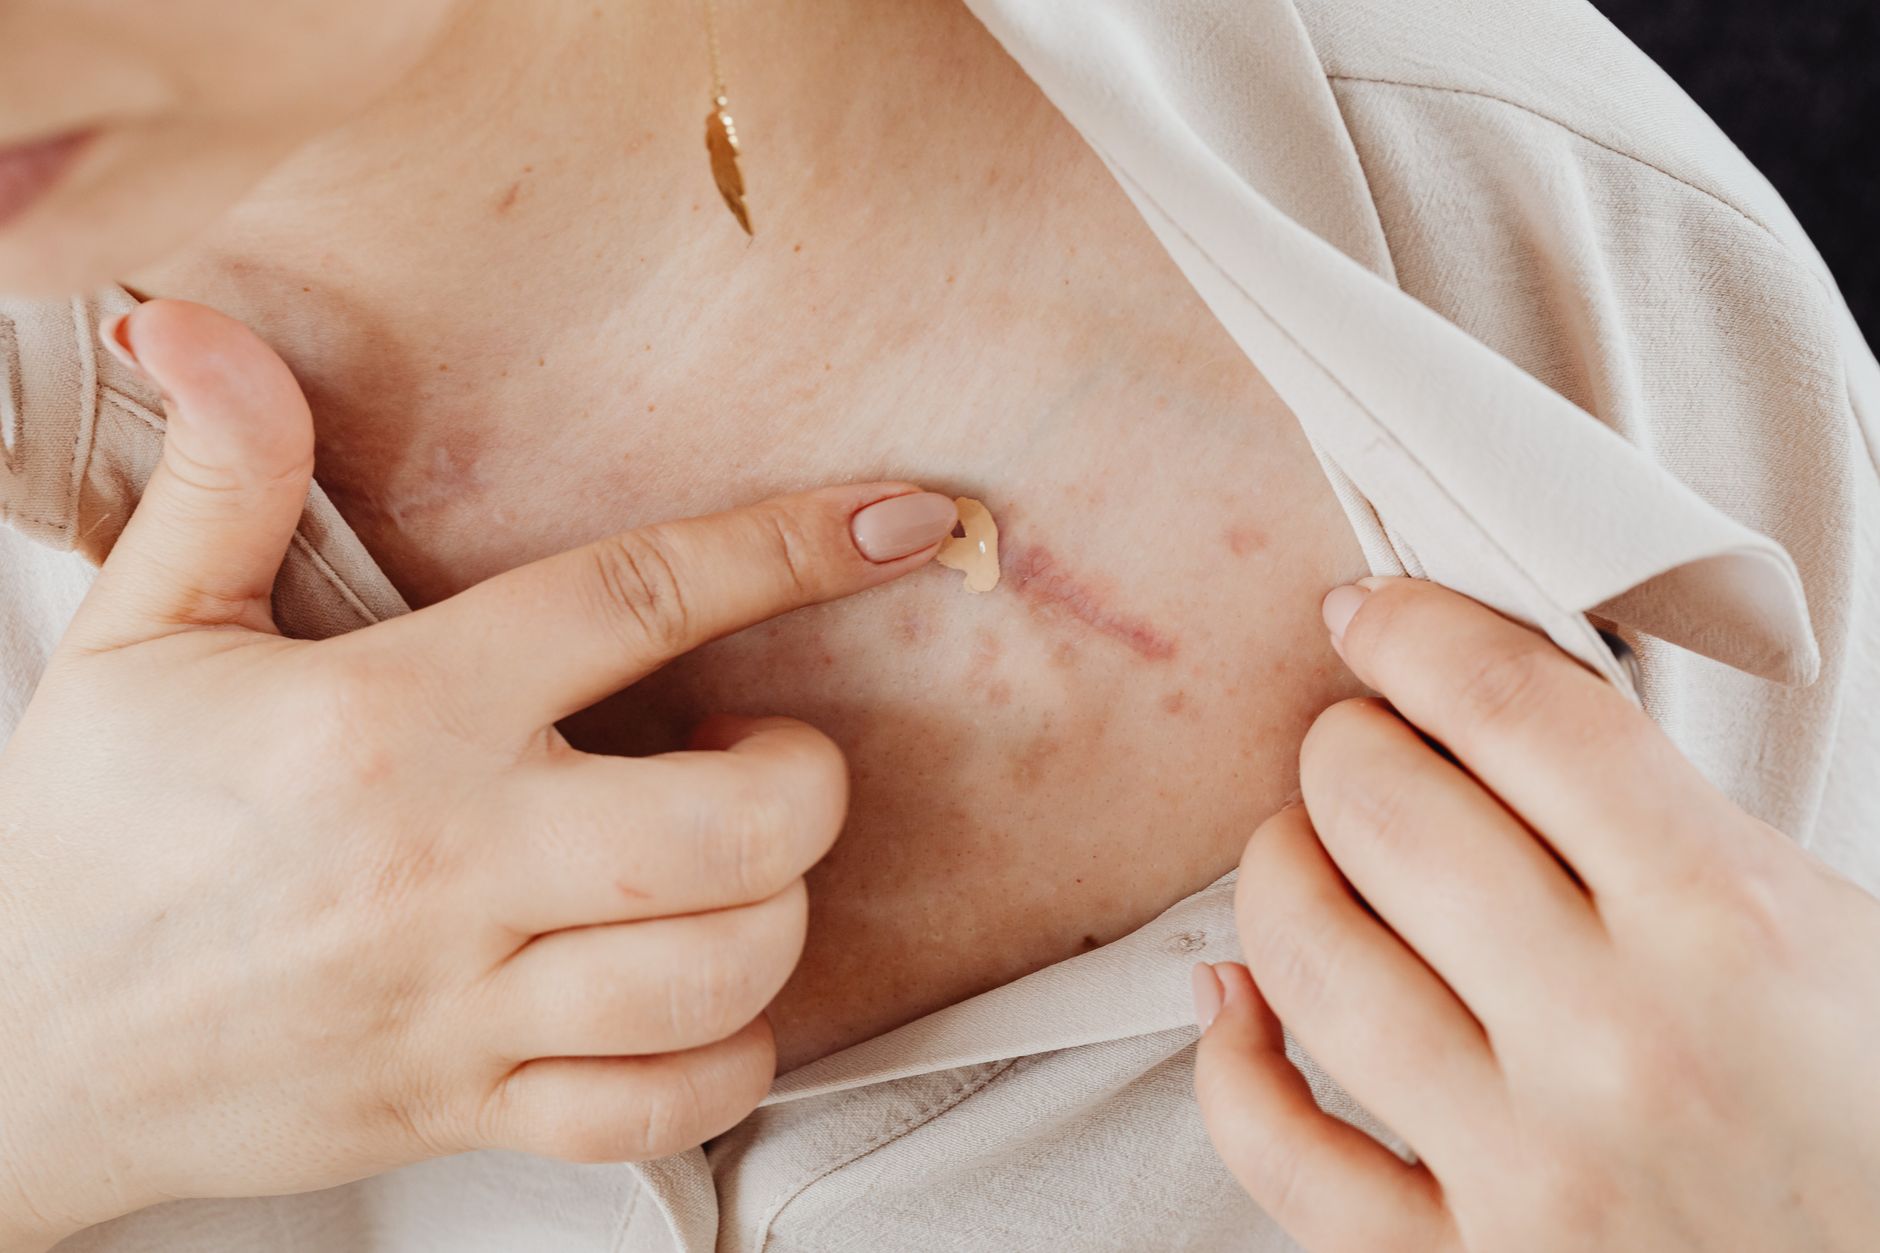
While concerns about permanent scarring are understandable, Mohs surgery actually minimizes scarring by preserving healthy tissue. Most scars fade significantly over 6-12 months, becoming much less noticeable than you might fear initially.
Schedule your follow-up appointment within 1-2 weeks to monitor healing progress. Your surgeon will remove any stitches and assess how well your skin is recovering. Report any signs of infection, excessive bleeding, or unusual pain immediately.
Follow your surgeon's aftercare instructions precisely to ensure optimal healing and minimize scarring.
Frequently Asked Questions
How long does Mohs surgery take?
Mohs surgery typically takes 2-4 hours on average. The pre-procedure preparation phase alone takes 30-45 minutes to ensure the safest and most effective treatment possible. The actual procedure time varies depending on how many tissue layers need to be removed, which is usually 1-3 layers.
Does Mohs surgery hurt?
Mohs surgery causes minimal discomfort thanks to local anesthesia administered during preparation. Most patients describe the initial anesthetic injection as similar to getting a dental filling—brief discomfort followed by complete numbness. During the actual tumor removal, you'll only feel slight pressure with no pain throughout the entire procedure.
What is the success rate of Mohs surgery?
Mohs surgery has a 99% cure rate for skin cancer treatment. This high success rate is achieved through the precise map-guided removal technique that ensures complete cancer removal while preserving as much healthy tissue as possible.
How should I prepare for Mohs surgery?
Before Mohs surgery, your medical team will review your complete medical history, including current medications, allergies, and previous skin treatments. If you take blood-thinning medications, your doctor may provide special instructions about when to pause them before surgery. The preparation phase includes informed consent discussion, thorough cleaning of the treatment area, and local anesthesia injection.
Why is it important to understand Mohs surgery steps beforehand?
Understanding the procedure steps transforms an intimidating experience into a manageable process and directly reduces pre-surgery anxiety. Having background knowledge allows you to give truly informed consent, ask better questions, and understand the reasoning behind each technique. This knowledge also makes preparation easier by helping you plan your day, arrange proper aftercare, and know when to expect results.
Disclaimer: This content is for informational purposes only and does not constitute medical advice. Always consult a qualified healthcare provider before making health decisions.