What to Expect: Your PDT Journey Overview

Photodynamic therapy unfolds as a carefully orchestrated process that transforms your skin over several hours and weeks. Your appointment typically spans 2-4 hours, making it longer than standard dermatology visits but delivering results that justify the time investment.
“PDT works in two distinct phases: medication absorption followed by precise light activation to target problematic skin cells.”
The treatment begins with your dermatologist applying a photosensitizing medication to your skin. This topical solution needs 1-3 hours to penetrate and accumulate in abnormal cells. During this incubation period, you'll wait comfortably in the clinic while the medication does its work.
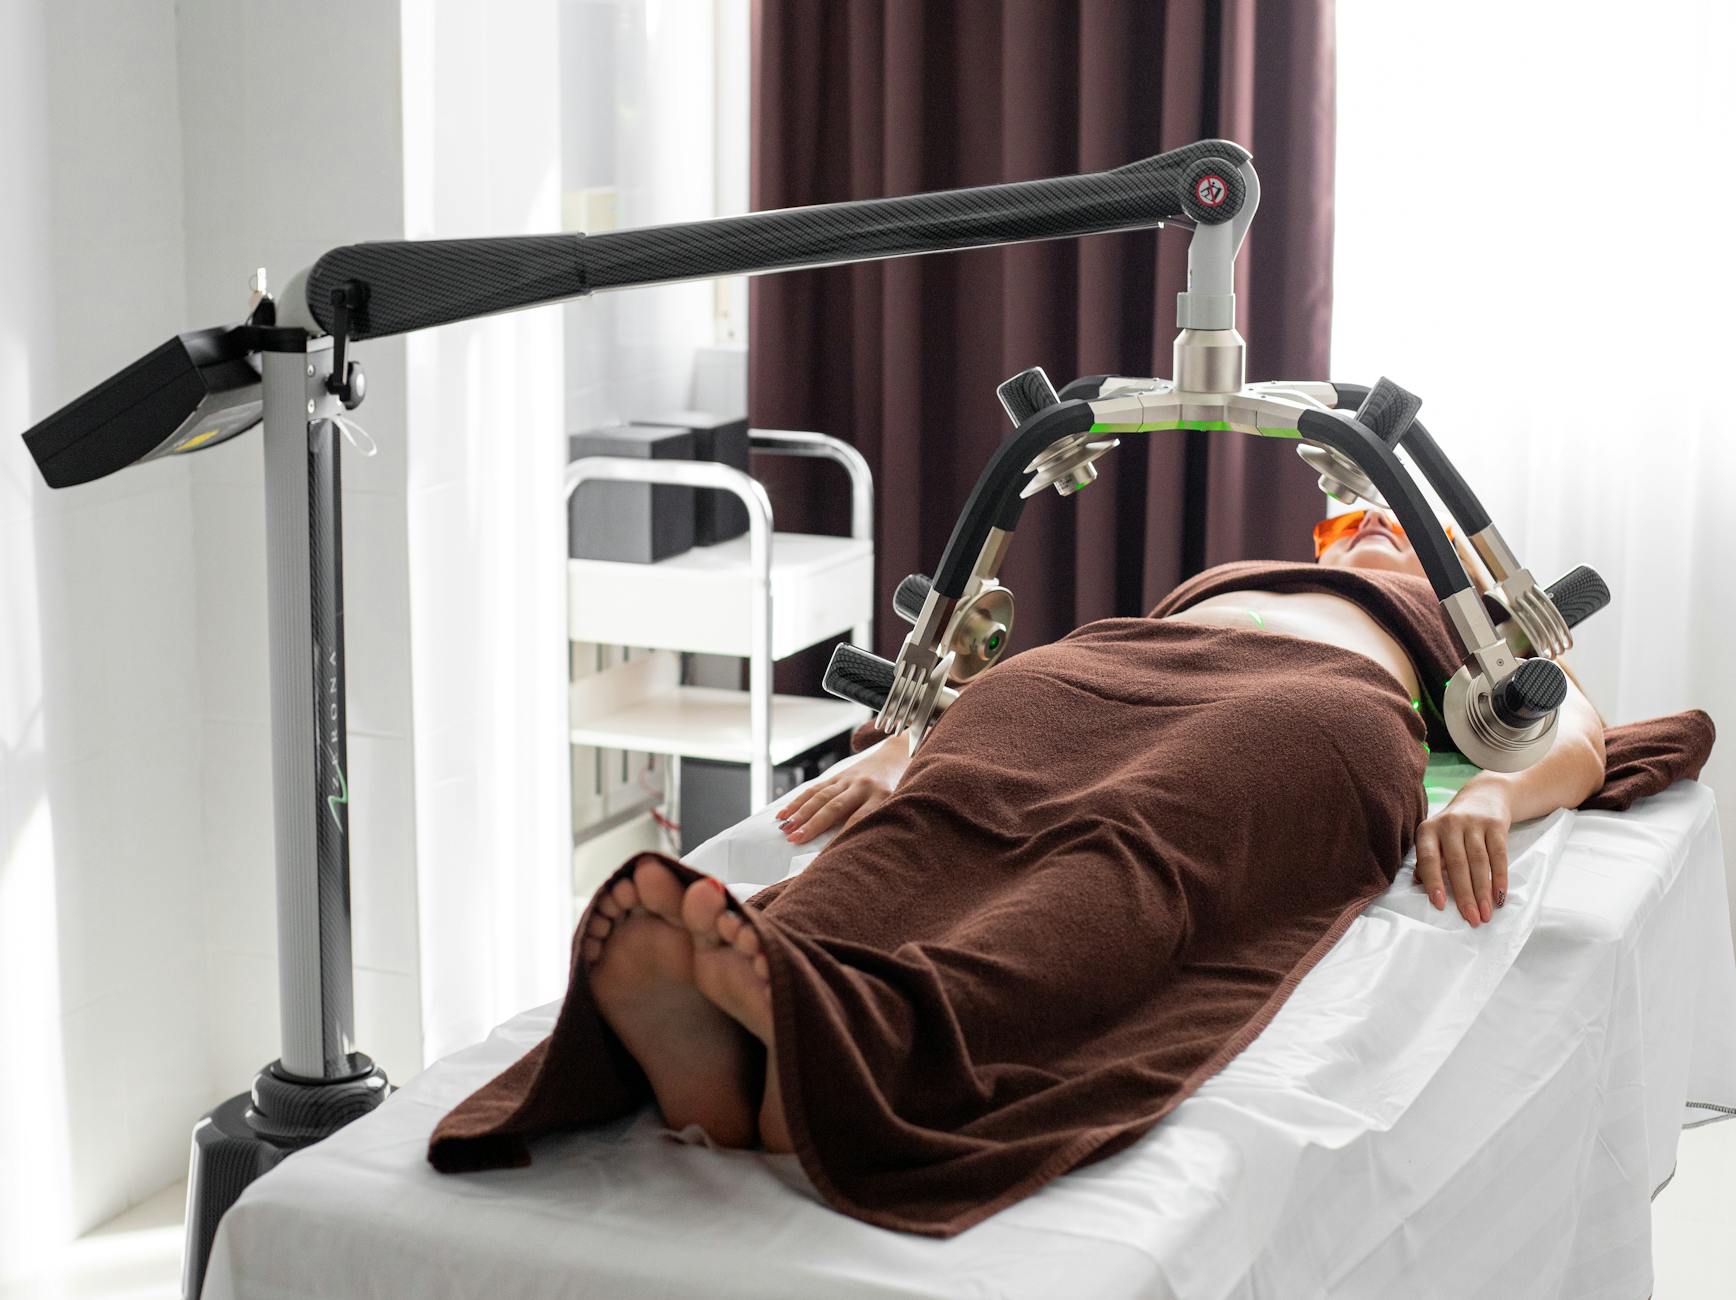
Next comes light activation, where specialized LED or laser light triggers the medication to destroy targeted cells. This phase typically lasts 8-18 minutes, depending on your specific condition and treatment area.
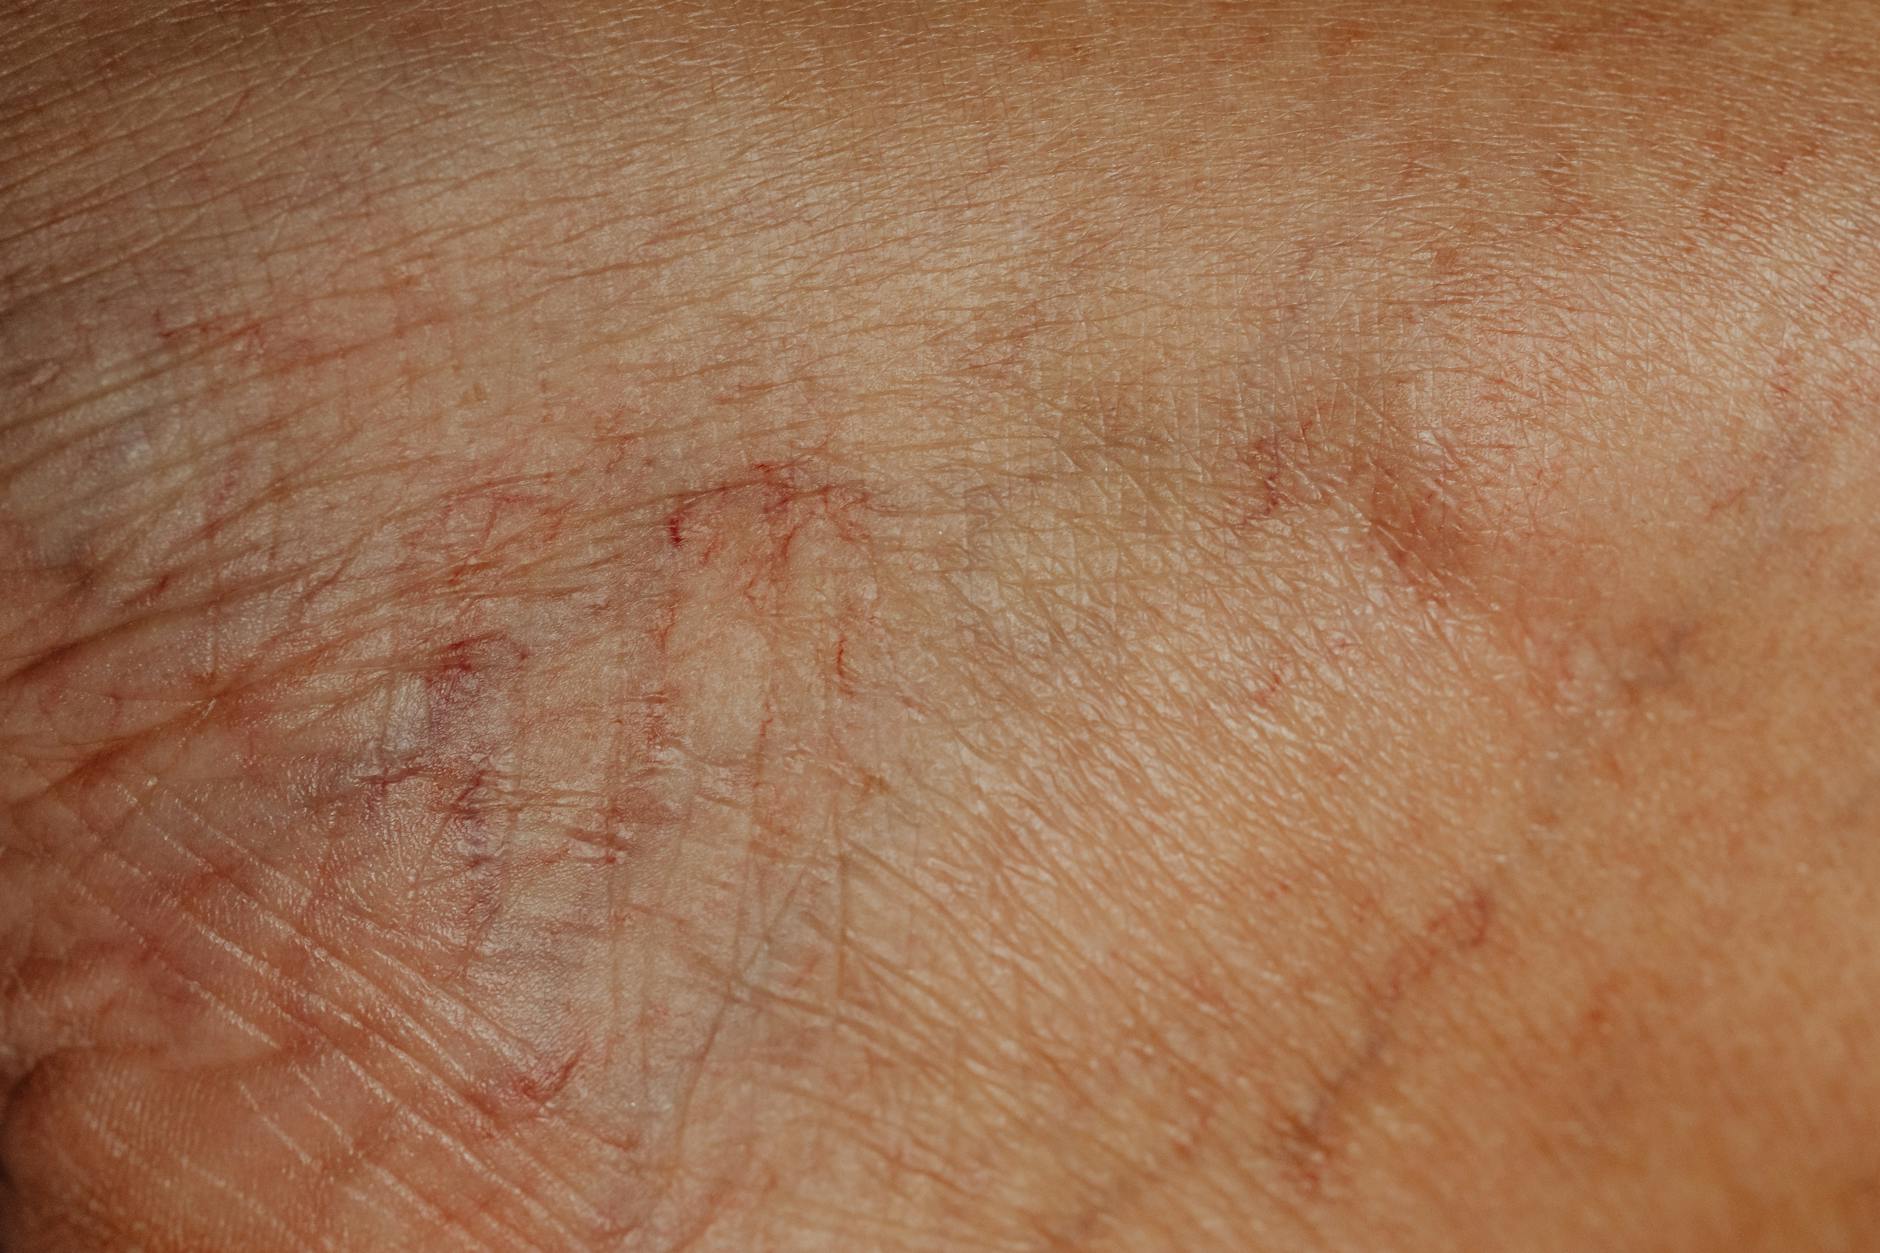
Your skin will show immediate redness and swelling, which might initially concern you about scarring. However, this inflammatory response signals the treatment is working effectively. Most patients notice significant improvement within 7-14 days as damaged cells naturally shed away, revealing clearer, healthier skin underneath.
For example, patients treating actinic keratoses often see complete lesion clearance within two weeks, while those addressing acne may require multiple sessions spaced several weeks apart for optimal results.
Pre-Treatment Consultation and Assessment
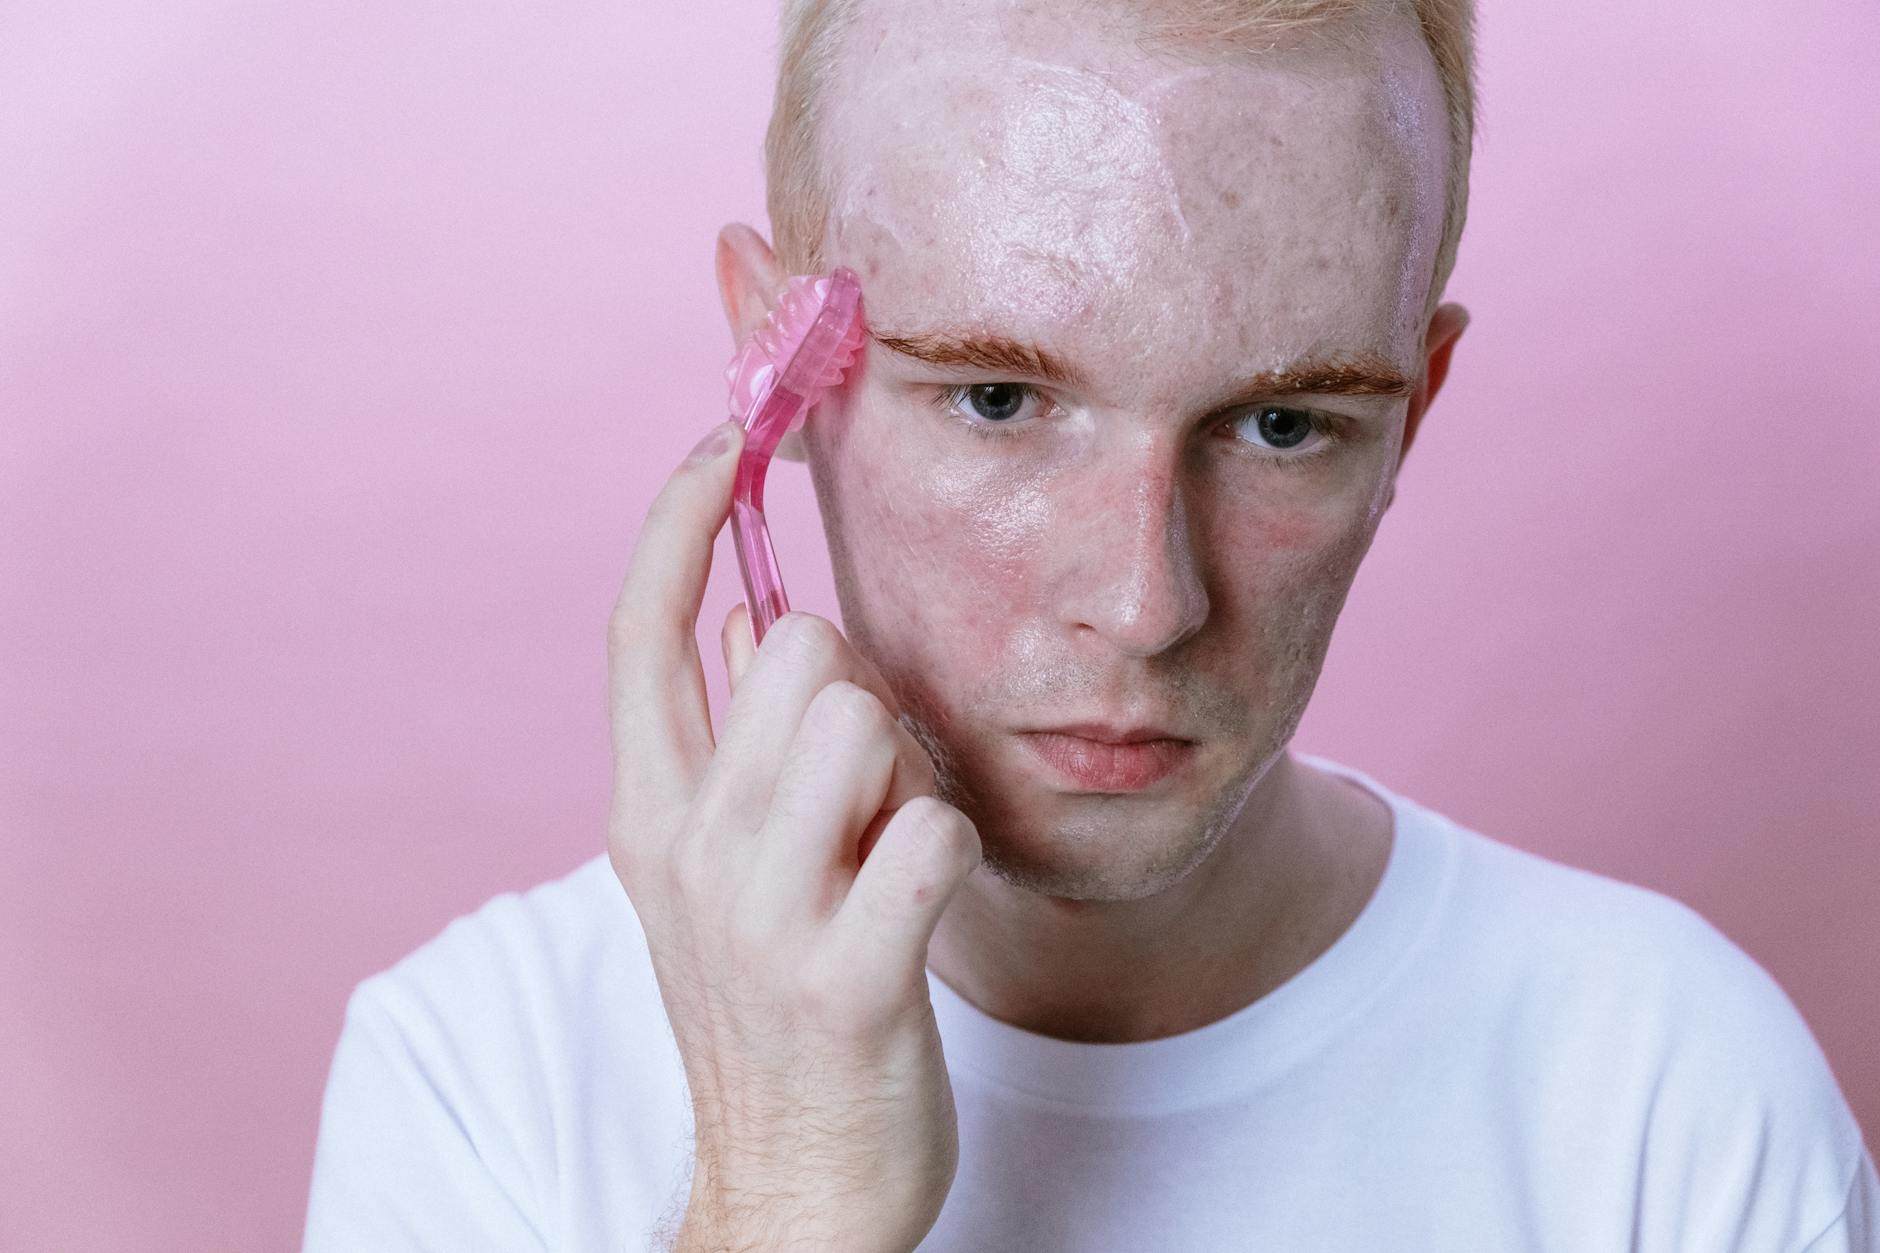
Your PDT journey begins with a comprehensive consultation where your dermatologist evaluates your skin condition and medical background. During this initial visit, expect a thorough examination using specialized lighting and magnification tools to assess acne severity, skin type, and identify areas requiring treatment focus.
The skin assessment goes beyond surface-level examination. Your doctor will categorize your acne type, measure lesion depth, and photograph affected areas to track progress. They'll also evaluate your skin's photosensitivity and thickness, which directly impacts treatment effectiveness and recovery time.
"Understanding your complete medical history helps us customize PDT to work safely with your unique skin profile."
Medical history review covers current medications, previous acne treatments, and any photosensitizing drugs that could increase light sensitivity. Your dermatologist will specifically ask about blood thinners, certain antibiotics, and herbal supplements that might interfere with treatment. This screening process helps prevent complications and ensures optimal results.
Based on your assessment, your doctor creates a personalized treatment plan detailing session frequency, light exposure duration, and expected timeline. For moderate acne, this typically involves 3-4 sessions spaced 2-4 weeks apart. The plan addresses your concerns about scarring by explaining how PDT targets active acne while promoting healing.
The consent process involves discussing realistic expectations, potential side effects, and post-treatment care requirements. Your dermatologist will explain temporary redness and peeling that occurs during healing, emphasizing these are normal responses that lead to clearer skin. You'll receive detailed pre-treatment instructions covering skincare modifications and sun protection requirements.
Essential Pre-Treatment Preparation Steps

Proper preparation significantly impacts your PDT results and reduces the risk of complications. Following specific pre-treatment guidelines helps ensure your skin responds optimally to photodynamic therapy while minimizing potential side effects that could lead to temporary discoloration or prolonged healing.
Stop retinoids, tretinoin, and vitamin A products one week before treatment to prevent excessive sensitivity.
Switch to gentle, fragrance-free cleansers and avoid exfoliating acids for 48-72 hours prior.
Stay out of direct sunlight for 24-48 hours before treatment and use broad-spectrum SPF 30+ daily.
Postpone waxing, chemical peels, or laser treatments for at least one week before PDT.
Similar to Chemical Peels preparation, which requires discontinuing retinoids and avoiding certain treatments beforehand, PDT demands careful attention to your skin's condition. Your dermatologist may prescribe specific prep products to optimize treatment effectiveness.
On treatment day, arrive with completely clean skin—no makeup, moisturizers, or sunscreen. Wear comfortable clothing that protects your arms and legs from light exposure during your drive home. Bring sunglasses and a wide-brimmed hat since your eyes and treated areas will be light-sensitive.
Plan for 2-3 hours at the clinic, including medication application time and the light activation session. Arrange transportation if possible, as some patients experience mild discomfort or light sensitivity that makes driving challenging immediately after treatment.
Step-by-Step PDT Procedure Walkthrough
Understanding exactly what happens during your PDT session helps reduce anxiety and ensures you know what to expect. The entire procedure typically takes 3-4 hours from start to finish, with most of that time spent waiting rather than active treatment.
Your dermatologist examines your skin and cleanses the treatment area with a gentle medical-grade cleanser to remove oils, makeup, and debris.
A thin layer of aminolevulinic acid (ALA) or methyl aminolevulinate (MAL) is carefully applied to target areas and covered with protective dressing.
You'll wait 1-3 hours in a dimly lit room while the medication absorbs into abnormal skin cells, making them light-sensitive.
The protective covering is removed and targeted light exposure begins, lasting 16-17 minutes to activate the photosensitizer.
During the skin cleansing phase, your provider will gently remove any skincare products, sunscreen, or makeup from the treatment area. This ensures optimal penetration of the photosensitizing medication. Some patients worry about permanent scarring, but PDT actually promotes healing and typically improves skin texture over time.
The photosensitizing medication application feels similar to applying a thick moisturizer. Your dermatologist applies it evenly across problem areas, focusing on sun-damaged zones like your forehead, nose, and cheeks. The medication appears clear or slightly blue-tinted.
The incubation period requires patience. You'll rest in a comfortable, darkened room while the medication selectively accumulates in abnormal cells. Many patients use this time to read, listen to music, or simply relax. The room lighting stays dimmed to prevent premature activation.
Light activation marks the final treatment phase. You'll feel a warming sensation that intensifies gradually, sometimes becoming uncomfortable but remaining tolerable. The light source positions precisely over your skin, delivering the exact wavelength needed to trigger the photodynamic reaction. Most patients describe the sensation as similar to a moderate sunburn developing in real-time.
Your provider monitors you throughout the entire process, adjusting positioning or providing cooling measures if discomfort becomes excessive. The treatment concludes when the timer completes the prescribed exposure duration.
During Treatment: What You'll Feel and Experience
Understanding what to expect during PDT helps reduce anxiety and ensures you're prepared for each phase. The treatment involves distinct sensations that vary between the medication application, waiting period, and light therapy itself.
During medication application, you'll feel a cool, gel-like substance being spread across your skin. This photosensitizing agent typically doesn't cause immediate discomfort, though some patients notice a slight tingling sensation. The application process takes about 10-15 minutes, and your provider will ensure even coverage of all target areas.
The incubation period requires patience as you wait 1-3 hours for the medication to penetrate your skin cells. You'll remain in a dimly lit room to prevent premature activation of the photosensitizer. Many patients use this time to read, listen to music, or rest. Your treatment team will check on you periodically and can provide blankets or adjust room temperature for comfort.
Light therapy produces the most noticeable sensations. You'll experience a stinging or burning feeling that intensifies gradually during the 15-minute session. This discomfort is temporary and completely normal. Your provider can offer cooling measures like fans or cold compresses between treatment cycles.
Communicate openly with your treatment team throughout the process. They can adjust positioning, provide comfort measures, or answer questions about what you're experiencing. Remember that temporary discomfort leads to clearer skin without permanent scarring when performed by qualified professionals.
Immediate Post-Treatment Care Instructions

Your skin needs special protection during the first 24-48 hours after PDT. Think of your treated skin like a fresh sunburn that requires gentle, careful handling to heal properly and avoid complications that could lead to scarring.
Stay indoors completely for 24-48 hours and use SPF 30+ sunscreen even for brief outdoor exposure.
Use only gentle, fragrance-free cleanser and moisturizer while avoiding all active ingredients like retinoids or acids.
Avoid sweating, hot showers, saunas, and strenuous exercise that could irritate your sensitive skin.
Your dermatologist will provide specific skincare products to use during recovery. Stick to these recommendations exactly—now isn't the time to experiment with new products or shortcuts.
Watch for warning signs that require immediate medical attention. Contact your dermatologist if you experience severe blistering, signs of infection like pus or spreading redness, or pain that worsens after the first day rather than improving.
For example, mild redness and swelling are normal, but if your face becomes significantly more swollen on day two compared to day one, this needs professional evaluation. Most patients experience peak redness and peeling around days 2-4, followed by gradual improvement.
Remember that proper post-treatment care directly impacts your final results. Following these instructions carefully helps ensure optimal healing and reduces your risk of scarring or pigmentation changes.
Common Preparation Mistakes to Avoid
Even with clear instructions, patients frequently make preparation errors that can compromise PDT effectiveness or increase side effects. Understanding these common mistakes helps you avoid setbacks and achieve better results.
Taking photosensitizing medication at the wrong time ranks as the most frequent error. Some patients take their medication too early, allowing it to metabolize before treatment, while others take it too late, creating inadequate tissue absorption. Follow your dermatologist's exact timing instructions, typically 1-3 hours before your appointment depending on the medication type.
Inadequate sun protection before treatment creates unnecessary complications. Many patients underestimate how sensitive their skin becomes after applying photosensitizing agents. Even brief sun exposure through car windows or indoor lighting can trigger premature reactions. Start strict sun avoidance 24 hours before your appointment.
Skincare product interference represents another critical mistake. Patients often continue using retinoids, acids, or exfoliating products right up until treatment day. These ingredients can increase skin sensitivity and interfere with medication absorption. Stop all active skincare products 3-5 days before PDT as directed.
Skipping or modifying pre-treatment instructions seems minor but can affect outcomes. For example, not cleansing your skin properly before medication application or eating foods that increase photosensitivity can impact results. Your careful preparation prevents permanent scarring and ensures optimal clearing of problematic skin areas.
Follow every preparation instruction exactly as written to avoid complications and achieve the clear skin results you want.
Frequently Asked Questions
How long does a PDT treatment session take?
A PDT appointment typically spans 2-4 hours, making it longer than standard dermatology visits. The treatment begins with applying photosensitizing medication that needs 1-3 hours to penetrate and accumulate in abnormal cells. The actual light activation phase then lasts 8-18 minutes, depending on your specific condition and treatment area.
What should I expect during the PDT treatment process?
PDT works in two distinct phases: first, a photosensitizing medication is applied to your skin and allowed to absorb for 1-3 hours while you wait comfortably in the clinic. Then specialized LED or laser light activates the medication to destroy targeted cells during an 8-18 minute light exposure session. Your skin will show immediate redness and swelling, which signals the treatment is working effectively.
How long does it take to see results from PDT?
Most patients notice significant improvement within 7-14 days as damaged cells naturally shed away, revealing clearer, healthier skin underneath. Patients treating actinic keratoses often see complete lesion clearance within two weeks. Those addressing acne may require multiple sessions spaced several weeks apart for optimal results.
How many PDT sessions will I need for acne treatment?
For moderate acne, treatment typically involves 3-4 sessions spaced 2-4 weeks apart. Your dermatologist will create a personalized treatment plan based on your skin assessment, detailing session frequency, light exposure duration, and expected timeline. The exact number of sessions depends on your specific acne type and severity.
What happens during the pre-treatment consultation?
Your PDT journey begins with a comprehensive consultation where your dermatologist evaluates your skin condition using specialized lighting and magnification tools. They'll assess acne severity, categorize your acne type, measure lesion depth, and photograph affected areas to track progress. The consultation also includes a medical history review covering current medications and previous treatments to ensure safe and effective treatment.
Disclaimer: This content is for informational purposes only and does not constitute medical advice. Always consult a qualified healthcare provider before making health decisions.