What Is a Shave Biopsy Procedure
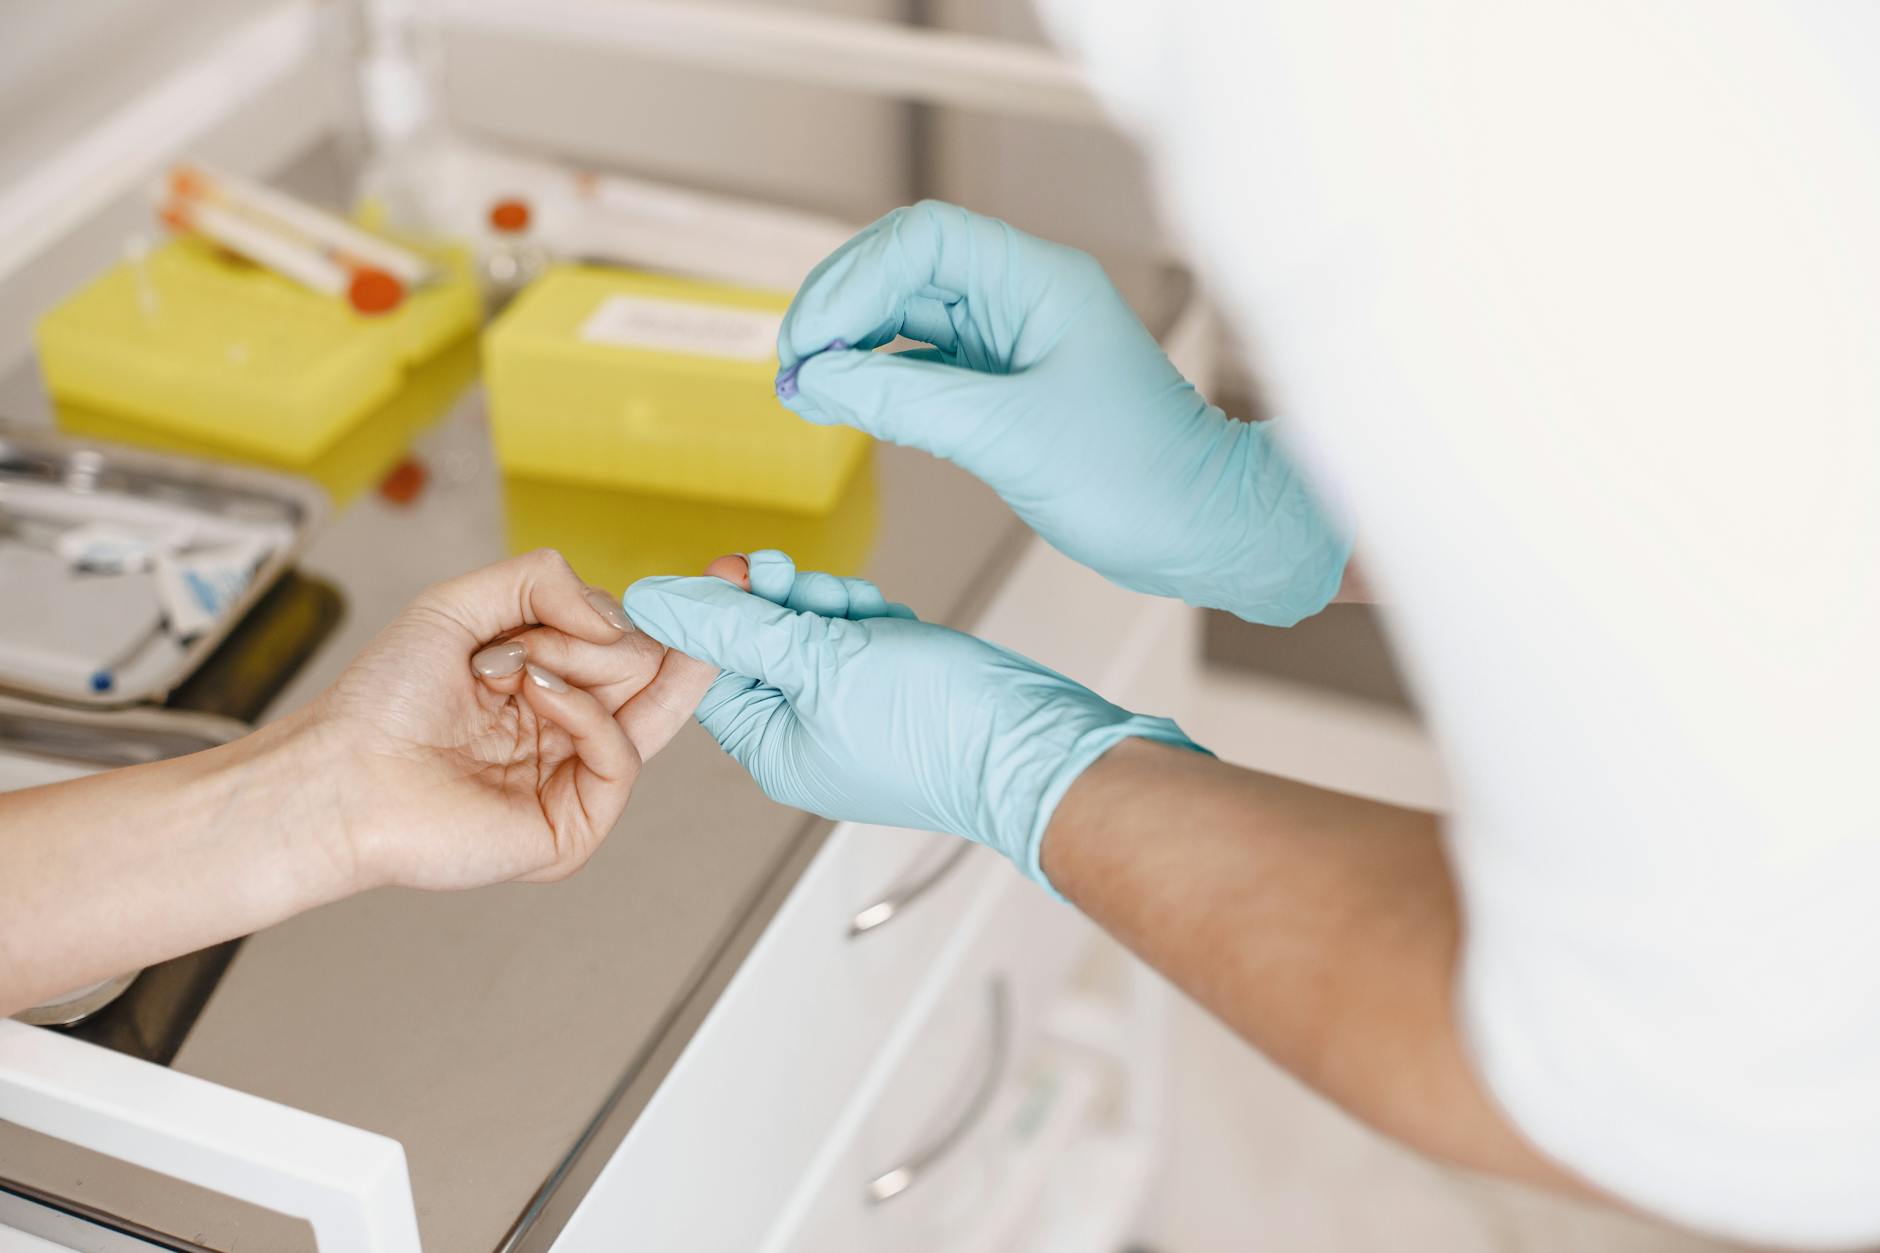
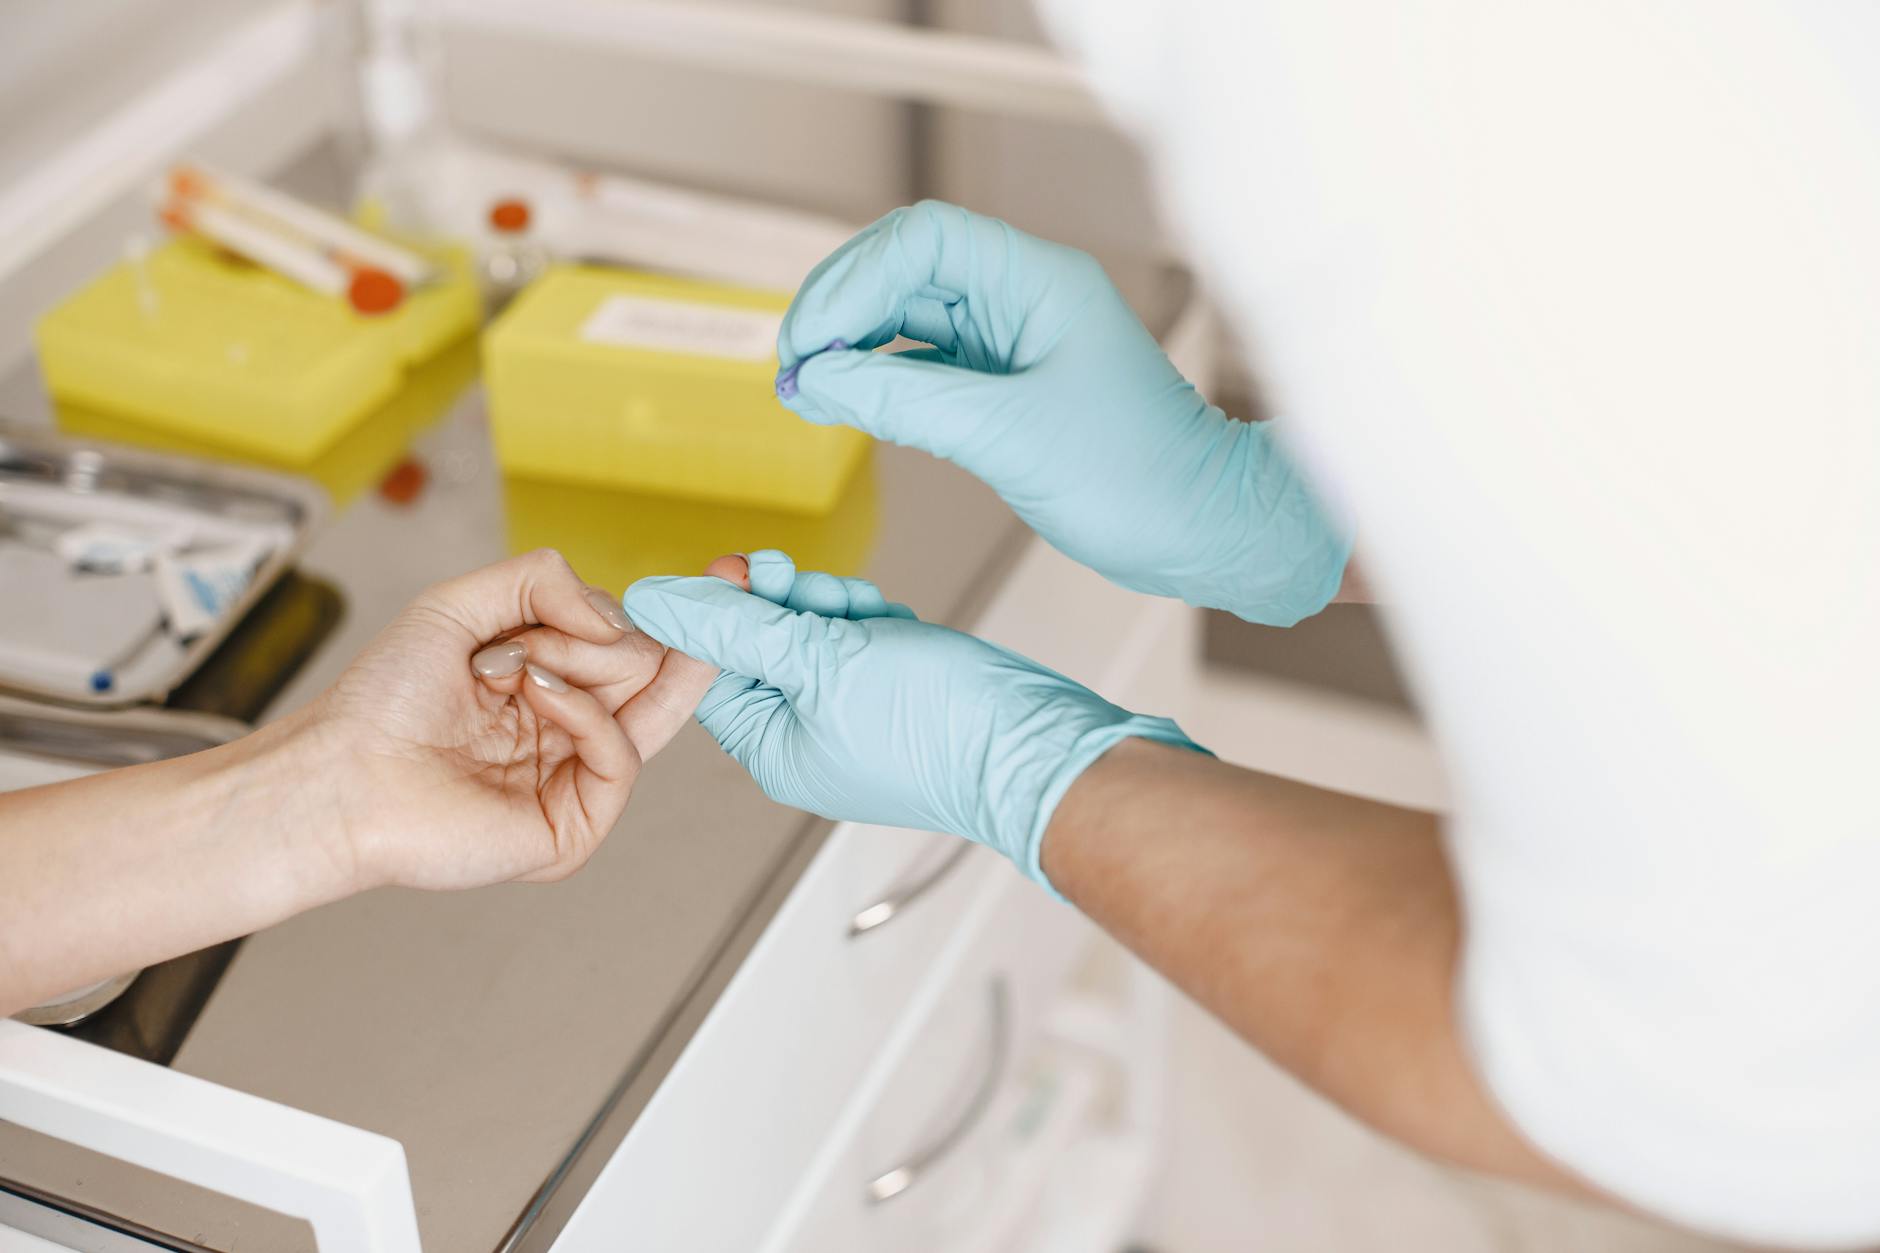
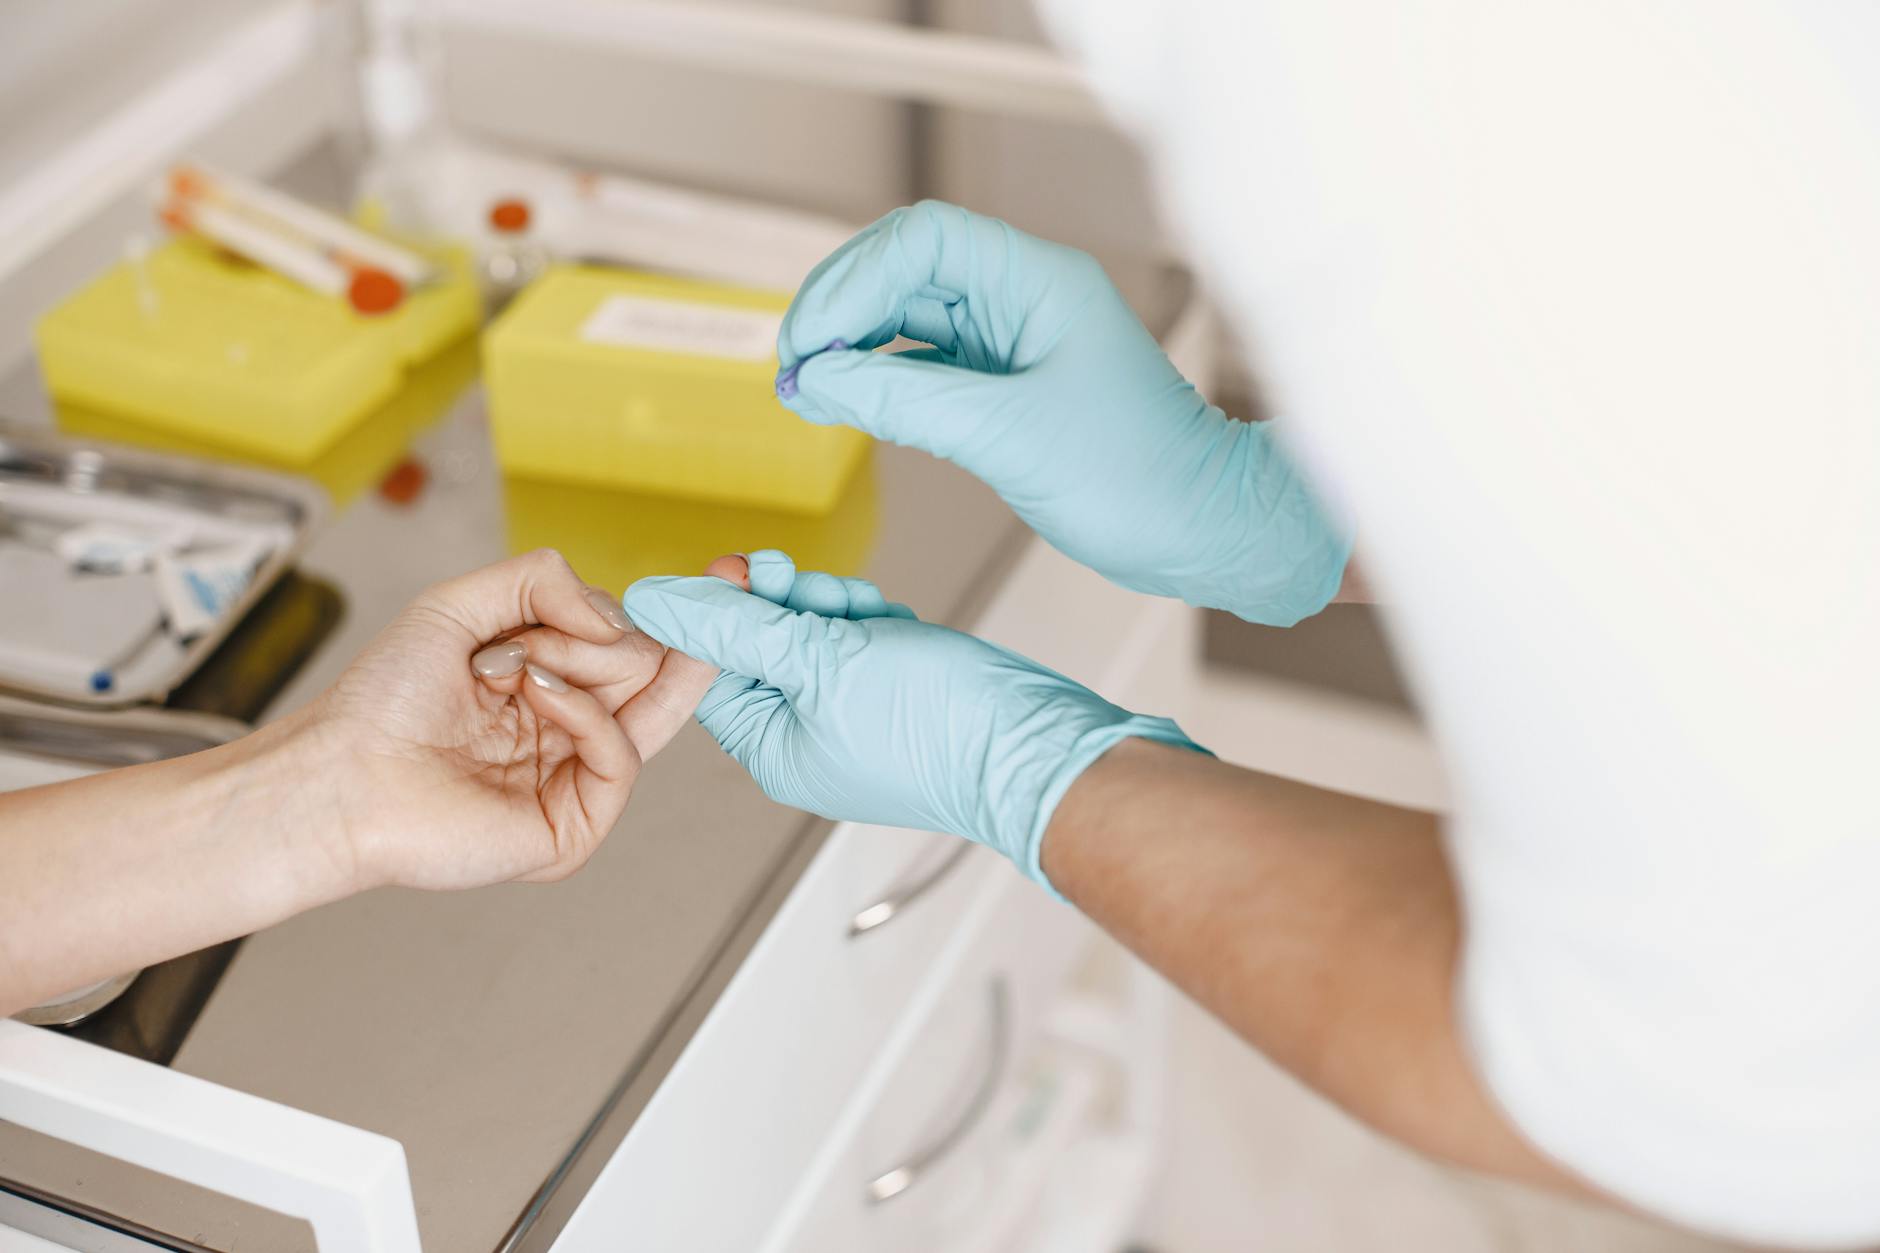
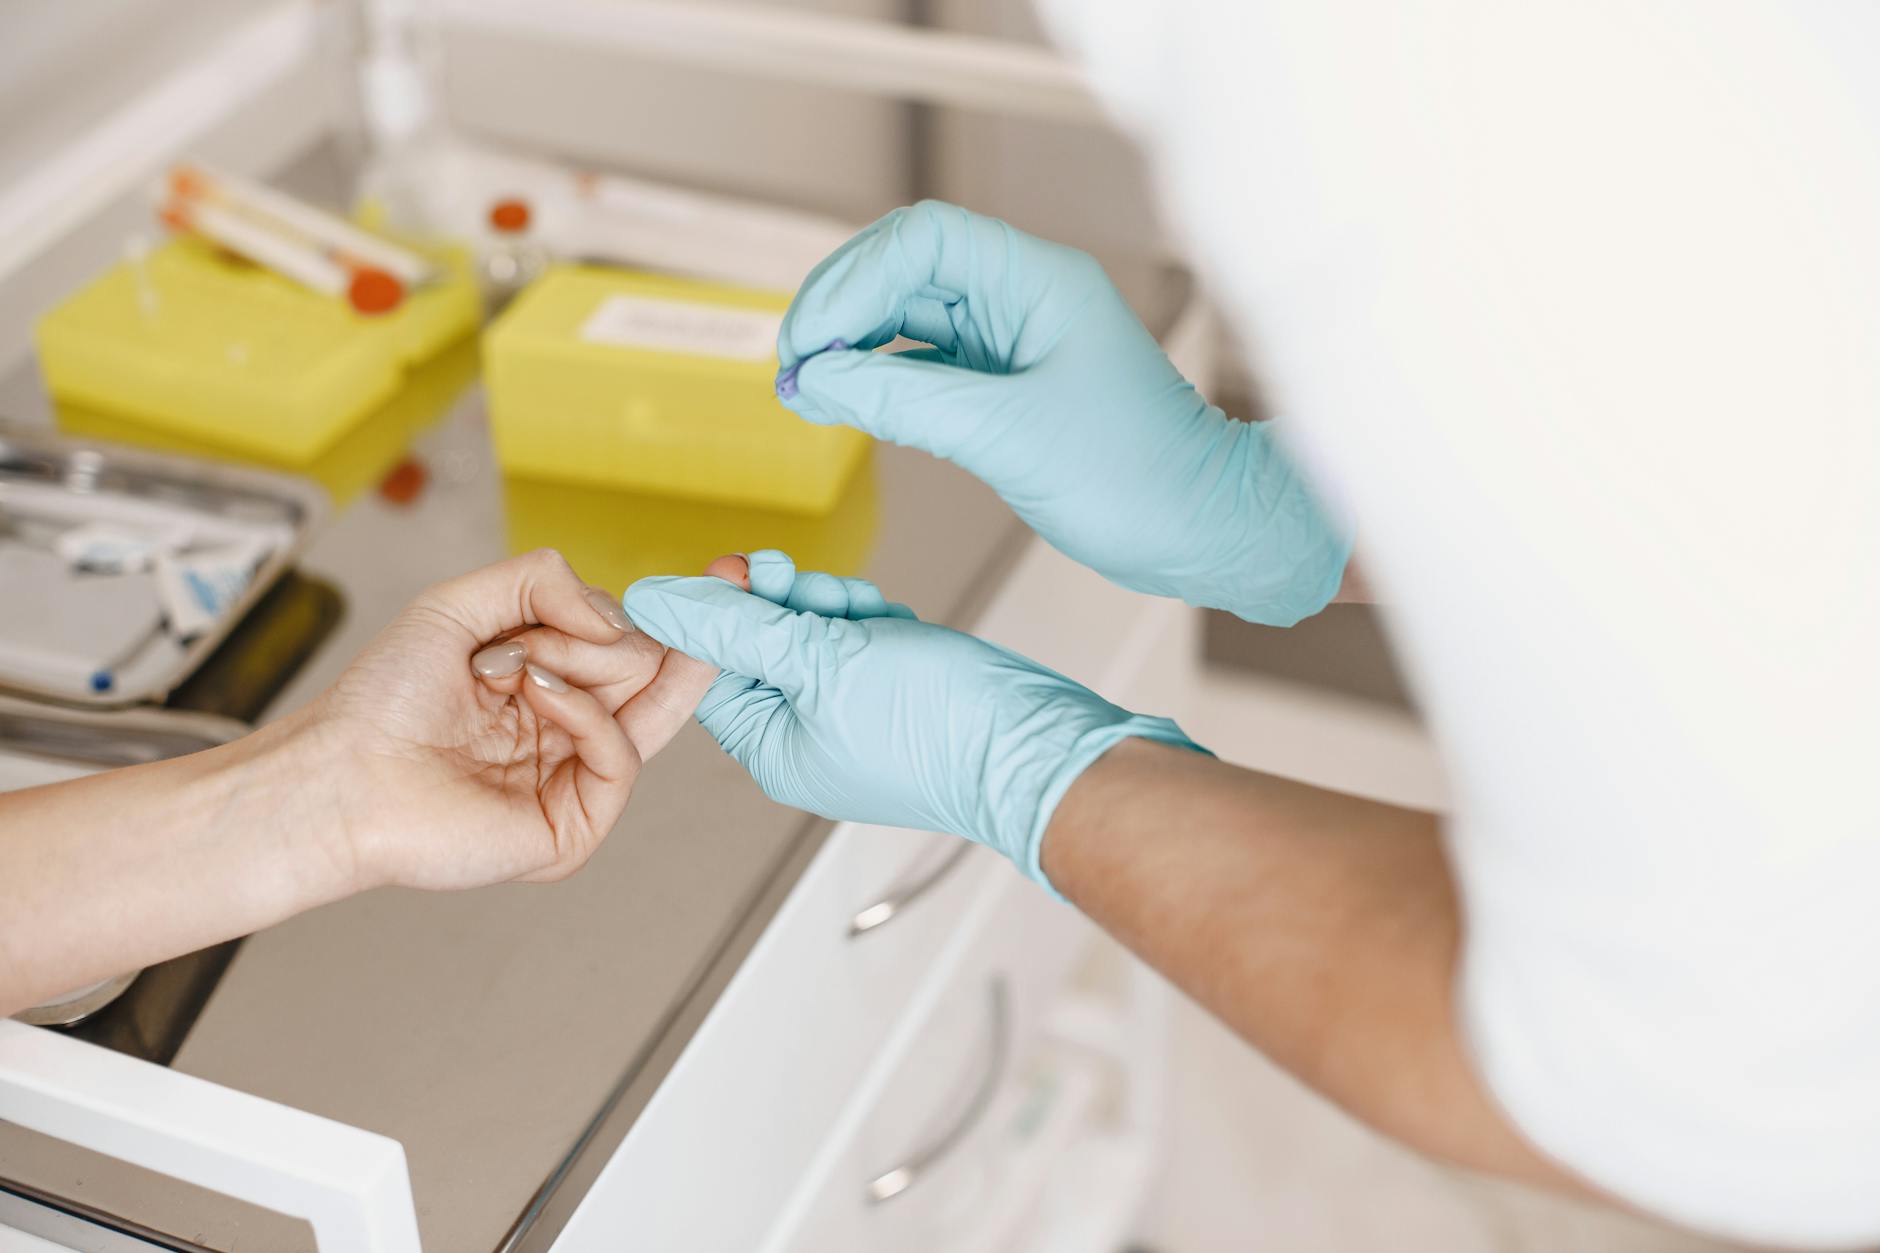
A shave biopsy is a quick, minimally invasive dermatological procedure that removes the top layers of suspicious skin tissue for laboratory analysis. Your dermatologist uses a small, sharp blade or razor to shave off the raised or abnormal portion of a skin lesion, taking only the surface layers rather than cutting deep into the skin.
“Shave biopsies are designed to minimize scarring while providing enough tissue for accurate diagnosis.”
Unlike punch biopsies or excisional biopsies that cut through the full thickness of skin, shave biopsies stay superficial. This approach reduces the risk of permanent scarring that concerns many patients. The procedure typically takes just a few minutes and leaves a shallow wound that heals similarly to a minor scrape.
Dermatologists commonly use shave biopsies to diagnose skin cancers like basal cell carcinoma, seborrheic keratoses, suspicious moles, and various benign skin growths. The technique works best for raised lesions where the concerning tissue sits above the skin's surface. Your doctor can often determine whether a growth is cancerous or benign, helping you get appropriate treatment quickly while maintaining your skin's appearance.
When Your Doctor Recommends a Shave Biopsy

Your dermatologist will typically recommend a shave biopsy when they need to examine suspicious skin changes that appear on or near the surface. This procedure works best for raised growths, unusual moles, or lesions that have changed in appearance over time.
Suspicious moles represent the most common reason for shave biopsies. If you notice a mole that has grown larger, changed color, developed irregular borders, or started bleeding, your doctor will likely want to sample the tissue. For example, a brown mole that suddenly develops black spots or becomes raised warrants immediate examination.
“A shave biopsy removes only the raised portion of the growth, leaving the deeper skin layers intact for better healing.”
Raised or elevated skin growths also make ideal candidates for shave biopsies. These include seborrheic keratoses (age spots), skin tags, or unusual bumps that appear suddenly. The procedure allows your doctor to remove the entire visible growth while preserving the surrounding healthy skin.
Surface-level skin changes like scaly patches, rough spots, or areas of discoloration that don't respond to treatment may also require biopsy. Since shave biopsies create minimal scarring compared to deeper procedures, they help address concerns about permanent marks while providing accurate diagnosis.
Preparing for Your Shave Biopsy
Proper preparation ensures your shave biopsy goes smoothly and heals well. Your dermatologist will provide specific instructions, but most patients follow similar guidelines to minimize complications and optimize results.
Discontinue blood thinners like aspirin, ibuprofen, or fish oil supplements one week before your procedure unless your doctor advises otherwise.
Wash the biopsy site with mild soap and water on the morning of your appointment, avoiding harsh scrubs or exfoliants.
Choose loose-fitting clothes that provide easy access to the biopsy area and won't rub against the site afterward.
Bring your insurance card, a list of current medications, and any previous biopsy results to your appointment. The procedure typically takes 15-30 minutes, including preparation and bandaging time.
Most patients worry about visible scarring, especially on exposed areas like the face or arms. Modern shave biopsy techniques produce minimal scarring when performed correctly, and your dermatologist will choose the smallest effective sample size to reduce any cosmetic impact while ensuring accurate diagnosis.
Avoid scheduling important social events for 24-48 hours after your biopsy, as the bandage needs to stay dry and the area may appear slightly swollen or red initially.
Step-by-Step: The Shave Biopsy Process

Understanding exactly what happens during your shave biopsy can ease concerns about scarring and help you feel more prepared. The entire procedure typically takes just 10-15 minutes and follows a straightforward sequence that dermatologists perform thousands of times each year.
Your doctor injects a small amount of lidocaine around the suspicious area to completely numb the skin.
Using a sharp blade, your dermatologist carefully shaves off the raised portion of skin in thin, precise layers.
The doctor applies pressure and may use a special solution to stop any bleeding immediately.
A sterile bandage covers the site to prevent infection and promote proper healing.
The anesthesia injection feels like a brief pinch, similar to getting a vaccination. Once the area becomes numb within 30 seconds, you won't feel any pain during the actual tissue removal. Your dermatologist removes only the abnormal tissue, preserving as much healthy skin as possible to minimize scarring.
Most patients describe the procedure as much easier than expected. The controlled technique ensures your doctor collects enough tissue for accurate diagnosis while keeping the wound as small as possible. Modern shave biopsy methods result in minimal scarring when performed by experienced dermatologists, addressing one of patients' biggest concerns about the procedure.
Immediate Recovery and Wound Care
The first 24 to 48 hours after your shave biopsy are crucial for proper healing. Your wound will likely ooze small amounts of blood or clear fluid during this time, which is completely normal. Apply gentle pressure with a clean gauze pad if bleeding occurs, and avoid picking at the scab that forms.
Gently wash around the wound with soap and water, then pat dry with a clean towel.
Use antibiotic ointment as directed and cover with a fresh bandage daily.
Look for gradual scab formation and decreasing redness around the edges.
Normal healing includes some redness, mild swelling, and tenderness around the biopsy site. The area may feel tight as new skin grows. Most patients worry about permanent scarring, but following proper wound care significantly reduces this risk. The wound typically begins forming a protective scab within the first day.
Contact your dermatologist immediately if you notice increasing redness spreading beyond the wound edges, pus, red streaking, or fever. These signs could indicate infection. Avoid swimming, soaking in baths, or exposing the wound to direct sunlight until it heals completely, which usually takes seven to fourteen days.
Long-term Healing and Scar Management
Your shave biopsy site will go through predictable healing phases over the next several months. The initial scab forms within 24-48 hours and naturally falls off in 7-14 days. New pink skin appears underneath, gradually fading to match your natural skin tone over 6-12 weeks.
You can minimize scarring by keeping the wound moist with petroleum jelly and protected from sun exposure during healing. Massage the area gently with moisturizer once the scab falls off to improve skin texture. While permanent scarring from shave biopsies is uncommon, some people develop slight texture changes or color differences.
If you notice raised, thick, or discolored scarring after three months, treatments can help. Chemical Peels use acid treatments that remove damaged skin layers to improve texture and appearance through controlled chemical exfoliation. Your dermatologist applies the chemical solution, leaves it for a predetermined time, then neutralizes it. These treatments effectively address uneven skin tone and rough texture, with improved results visible within 1-4 weeks depending on peel depth.
Understanding Your Biopsy Results
Your biopsy sample travels to a pathology lab where specialists examine the tissue under microscopes. This detailed analysis takes time, so expect results within 7 to 14 days from your procedure date. Some complex cases may require additional testing, extending the timeline to three weeks.
Pathology reports contain medical terminology that can seem overwhelming at first glance. Your dermatologist will explain the findings in plain language during your follow-up appointment. The report includes details about cell structure, any abnormal growth patterns, and whether the sample shows signs of skin cancer or other conditions.
Your next steps depend entirely on what the pathology reveals. Benign results typically require only routine monitoring, while abnormal findings may need additional treatment or closer surveillance. Your dermatologist will create a personalized plan based on your specific results, ensuring you understand both the diagnosis and any recommended follow-up care.
Potential Risks and How to Minimize Them

While shave biopsies are considered safe procedures, understanding potential complications helps you make informed decisions and recognize warning signs. Most patients experience minor side effects that resolve within days to weeks.
Bleeding represents the most common immediate risk. Your doctor will apply pressure and possibly use a chemical agent to stop bleeding during the procedure. At home, avoid picking at the scab and keep the area clean and dry. If bleeding persists or restarts heavily, contact your healthcare provider immediately.
Infection occurs rarely but requires prompt attention. Watch for increasing redness beyond the biopsy site, warmth, pus, or red streaking. Proper wound care significantly reduces infection risk—clean the area gently with soap and water, apply prescribed antibiotic ointment, and keep it covered as directed.
Scarring concerns many patients, particularly those worried about permanent marks on visible areas. Most shave biopsies heal with minimal scarring since only the skin's surface layers are removed. The final appearance typically develops over several months as the skin remodels. Protecting the healing area from sun exposure and following aftercare instructions helps optimize healing.
Contact your doctor if you notice signs of infection, excessive bleeding that doesn't stop with direct pressure, or any concerning changes around the biopsy site. Early intervention prevents complications and ensures proper healing.
Your Next Steps After Shave Biopsy
Your healing journey continues beyond the procedure itself. Schedule your follow-up appointment within one to two weeks to review results and assess healing progress. Your dermatologist will examine the biopsy site and discuss any necessary treatment based on the pathology findings.
Maintain regular skin surveillance by performing monthly self-examinations and scheduling annual dermatology checkups. Look for new growths, changes in existing moles, or unusual spots that don't heal within four weeks.
Prevent future skin damage by applying broad-spectrum SPF 30 sunscreen daily, seeking shade during peak hours, and wearing protective clothing. These simple habits significantly reduce your risk of developing new concerning lesions while supporting healthy skin recovery.
Consistent follow-up care and sun protection are your best defenses against future skin concerns.
Frequently Asked Questions
What is a shave biopsy and how is it performed?
A shave biopsy is a quick, minimally invasive procedure that removes the top layers of suspicious skin tissue for laboratory analysis. Your dermatologist uses a small, sharp blade or razor to shave off the raised or abnormal portion of a skin lesion, taking only the surface layers rather than cutting deep into the skin. The procedure typically takes just a few minutes and leaves a shallow wound that heals similarly to a minor scrape.
When would a doctor recommend a shave biopsy?
Your dermatologist will typically recommend a shave biopsy when they need to examine suspicious skin changes that appear on or near the surface, particularly for raised growths, unusual moles, or lesions that have changed in appearance over time. Common reasons include suspicious moles that have grown larger, changed color, developed irregular borders, or started bleeding. The procedure is also used for raised skin growths like seborrheic keratoses, skin tags, or unusual bumps that appear suddenly.
Does a shave biopsy leave scars?
Shave biopsies are designed to minimize scarring while providing enough tissue for accurate diagnosis. Unlike punch biopsies or excisional biopsies that cut through the full thickness of skin, shave biopsies stay superficial, which reduces the risk of permanent scarring. The procedure creates minimal scarring compared to deeper procedures while still allowing for accurate diagnosis.
What should I do to prepare for a shave biopsy?
Proper preparation includes stopping blood thinners like aspirin, ibuprofen, or fish oil supplements one week before your procedure unless your doctor advises otherwise. On the morning of your appointment, wash the biopsy site with mild soap and water, avoiding harsh scrubs or exfoliants. You should also wear comfortable, loose-fitting clothes that provide easy access to the biopsy area and won't rub against the site afterward.
What skin conditions can be diagnosed with a shave biopsy?
Dermatologists commonly use shave biopsies to diagnose skin cancers like basal cell carcinoma, seborrheic keratoses, suspicious moles, and various benign skin growths. The technique works best for raised lesions where the concerning tissue sits above the skin's surface. Your doctor can often determine whether a growth is cancerous or benign, helping you get appropriate treatment quickly while maintaining your skin's appearance.
Disclaimer: This content is for informational purposes only and does not constitute medical advice. Always consult a qualified healthcare provider before making health decisions.