Pre-Procedure Preparation and Setup

Before your surgeon makes the first incision, several important preparation steps ensure your safety and the best possible outcome. Understanding what happens during this setup phase can help ease any concerns about permanent scarring, as proper preparation significantly reduces complications and promotes optimal healing.
“Proper preparation is the foundation of successful surgical excision with minimal scarring.”
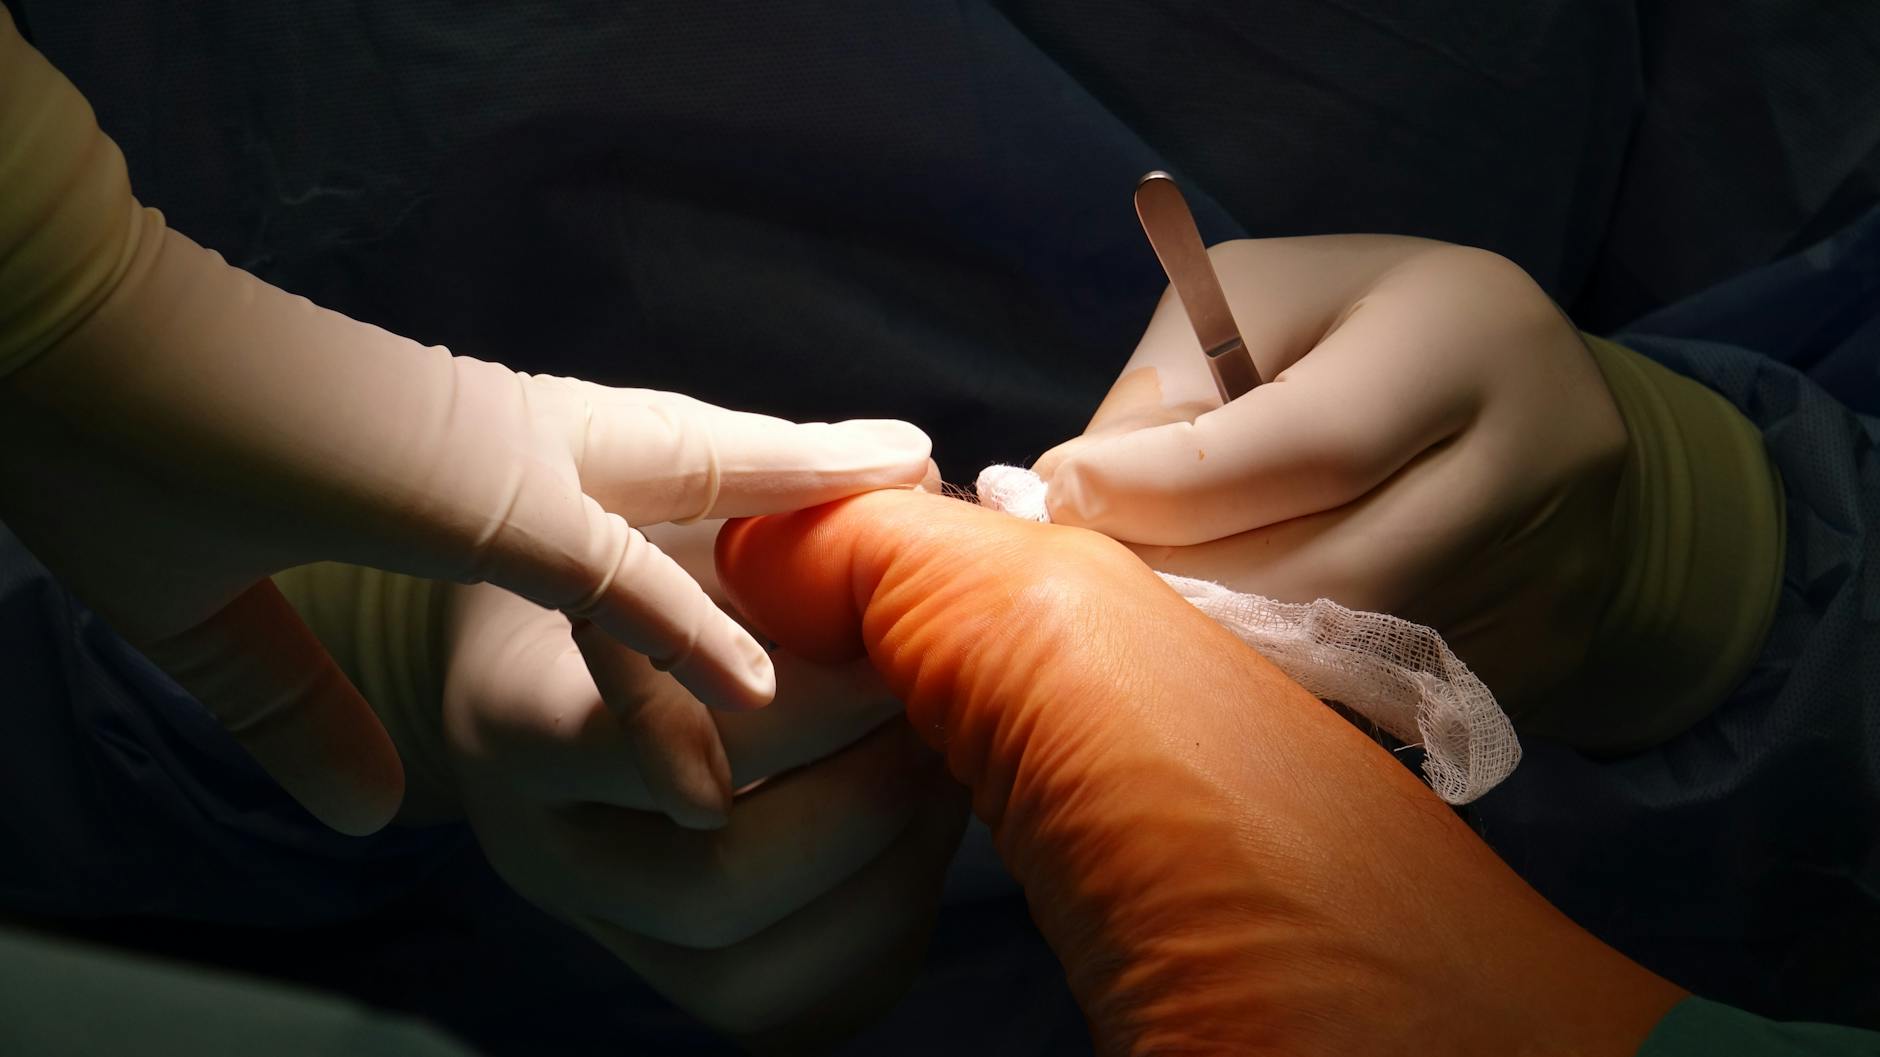
Your medical team begins by positioning you comfortably on the examination table, typically lying flat or at a slight angle depending on the lesion location. The surgeon then carefully marks the surgical site using a sterile pen, outlining the exact area to be removed plus a small margin of healthy tissue around it.
You'll be positioned to give the surgeon optimal access while keeping you comfortable throughout the procedure.
The surgeon marks the exact removal area with measurements to ensure precision and minimal tissue removal.
The area is thoroughly cleaned and draped with sterile cloths to prevent infection.
All surgical instruments are verified and arranged within easy reach of your surgeon.
The preparation concludes with your surgeon verifying all equipment and reviewing the planned approach one final time before beginning the actual excision.
Anesthesia Administration
Your dermatologist begins by cleaning the treatment area with an antiseptic solution. They will then inject a local anesthetic, typically lidocaine, directly into the skin around the lesion. You'll feel a brief pinching sensation followed by a mild burning or stinging feeling as the medication spreads through the tissue.
“The initial injection discomfort lasts only seconds, but the numbness that follows ensures you won't feel the actual excision.”
The numbing effect usually takes 5-10 minutes to reach full effectiveness. During this waiting period, your doctor may gently test the area with a small instrument to confirm complete numbness. You might feel pressure or tugging sensations during testing, but no sharp pain.
Some patients worry that inadequate numbing could lead to a poor outcome or scarring. Rest assured that your surgeon will not proceed until the area is completely numb. If you feel any discomfort during testing, they'll administer additional anesthetic as needed.
The injection site may feel slightly swollen or tight, which is completely normal and helps create optimal conditions for precise surgical removal.
The Excision Process

Once the anesthesia takes effect, your dermatologist begins the careful removal process. The procedure follows a systematic approach designed to completely remove the targeted tissue while minimizing impact on surrounding healthy skin.
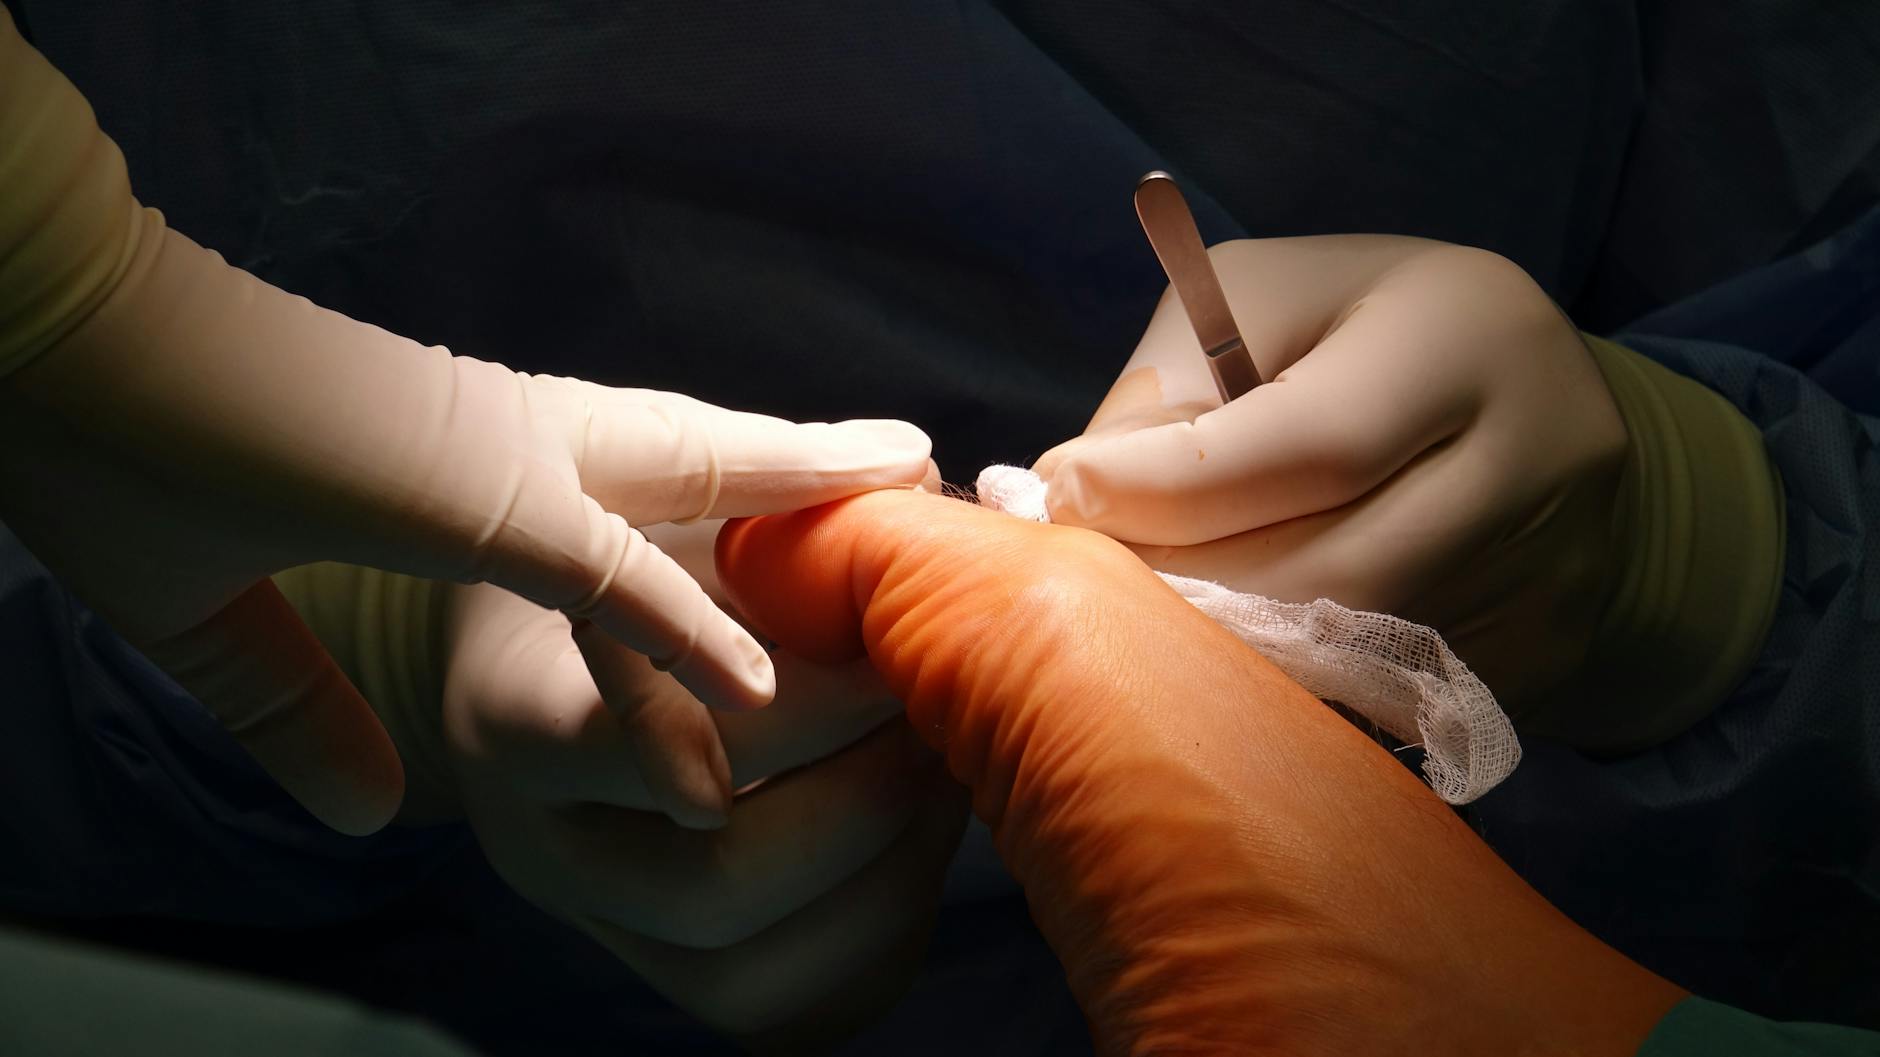
The surgeon makes a precise cut around the lesion, typically in an oval or elliptical shape.
The scalpel extends through the full thickness of skin to ensure complete excision of abnormal tissue.
The surgeon examines the removal site to confirm all concerning tissue has been extracted with healthy tissue borders.
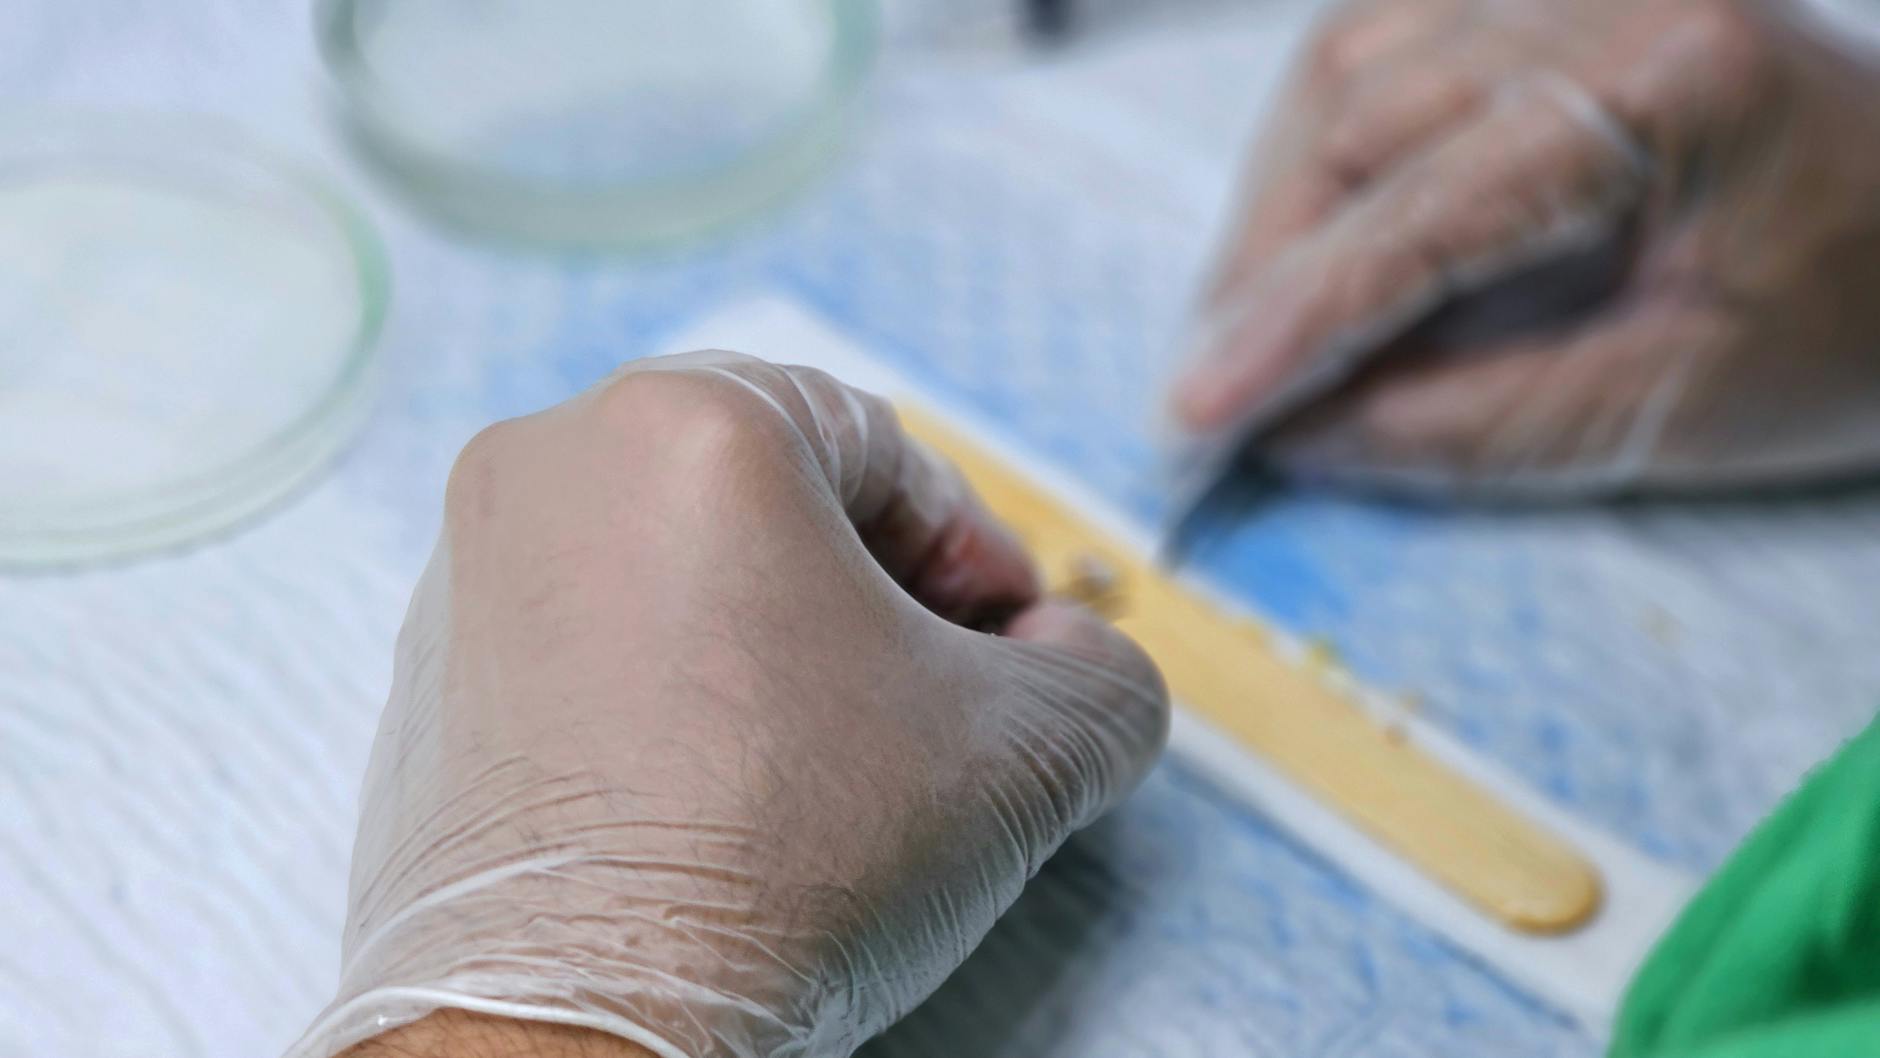
The removed tissue is immediately placed in preservative solution and labeled for laboratory analysis.
Your surgeon works methodically to ensure clean margins—meaning healthy tissue surrounds the excised area. This technique reduces the likelihood of recurrence and promotes optimal healing. The removed specimen travels to a pathology lab where specialists examine it under a microscope to confirm complete removal and provide detailed diagnostic information.
While the thought of surgical removal may seem daunting, modern techniques prioritize minimal scarring through strategic incision placement along natural skin lines whenever possible.
Wound Closure and Finishing
After your dermatologist removes the tissue, they focus on closing the wound properly to promote optimal healing and minimize scarring. The closure method depends on the size and depth of your excision.
For shallow excisions, your doctor may use simple interrupted sutures, placing individual stitches across the wound edges. Deeper excisions require layered closure, where the surgeon first stitches the deeper tissue layers, then closes the surface skin. This technique reduces tension on the skin surface and helps prevent visible scarring.
Surgeon stitches underlying tissue to reduce surface tension.
Careful alignment of skin edges using appropriate stitch technique.
Sterile bandage protects the wound and absorbs any drainage.
Your surgeon applies a sterile dressing over the closed wound to protect it from bacteria and keep it clean. Before you leave, they provide detailed aftercare instructions covering wound cleaning, when to change dressings, and signs to watch for that might indicate infection or healing problems.
Timeline and What to Expect
Most surgical excisions take 15-30 minutes, depending on the size and location of the lesion. The procedure itself causes minimal discomfort since local anesthetic numbs the area completely. You'll feel pressure during the cutting and stitching but no pain.
After the anesthetic wears off in 2-3 hours, expect mild soreness similar to a small cut. Over-the-counter pain relievers handle this easily. Pathology results arrive within 7-14 days, giving you definitive answers about the removed tissue.
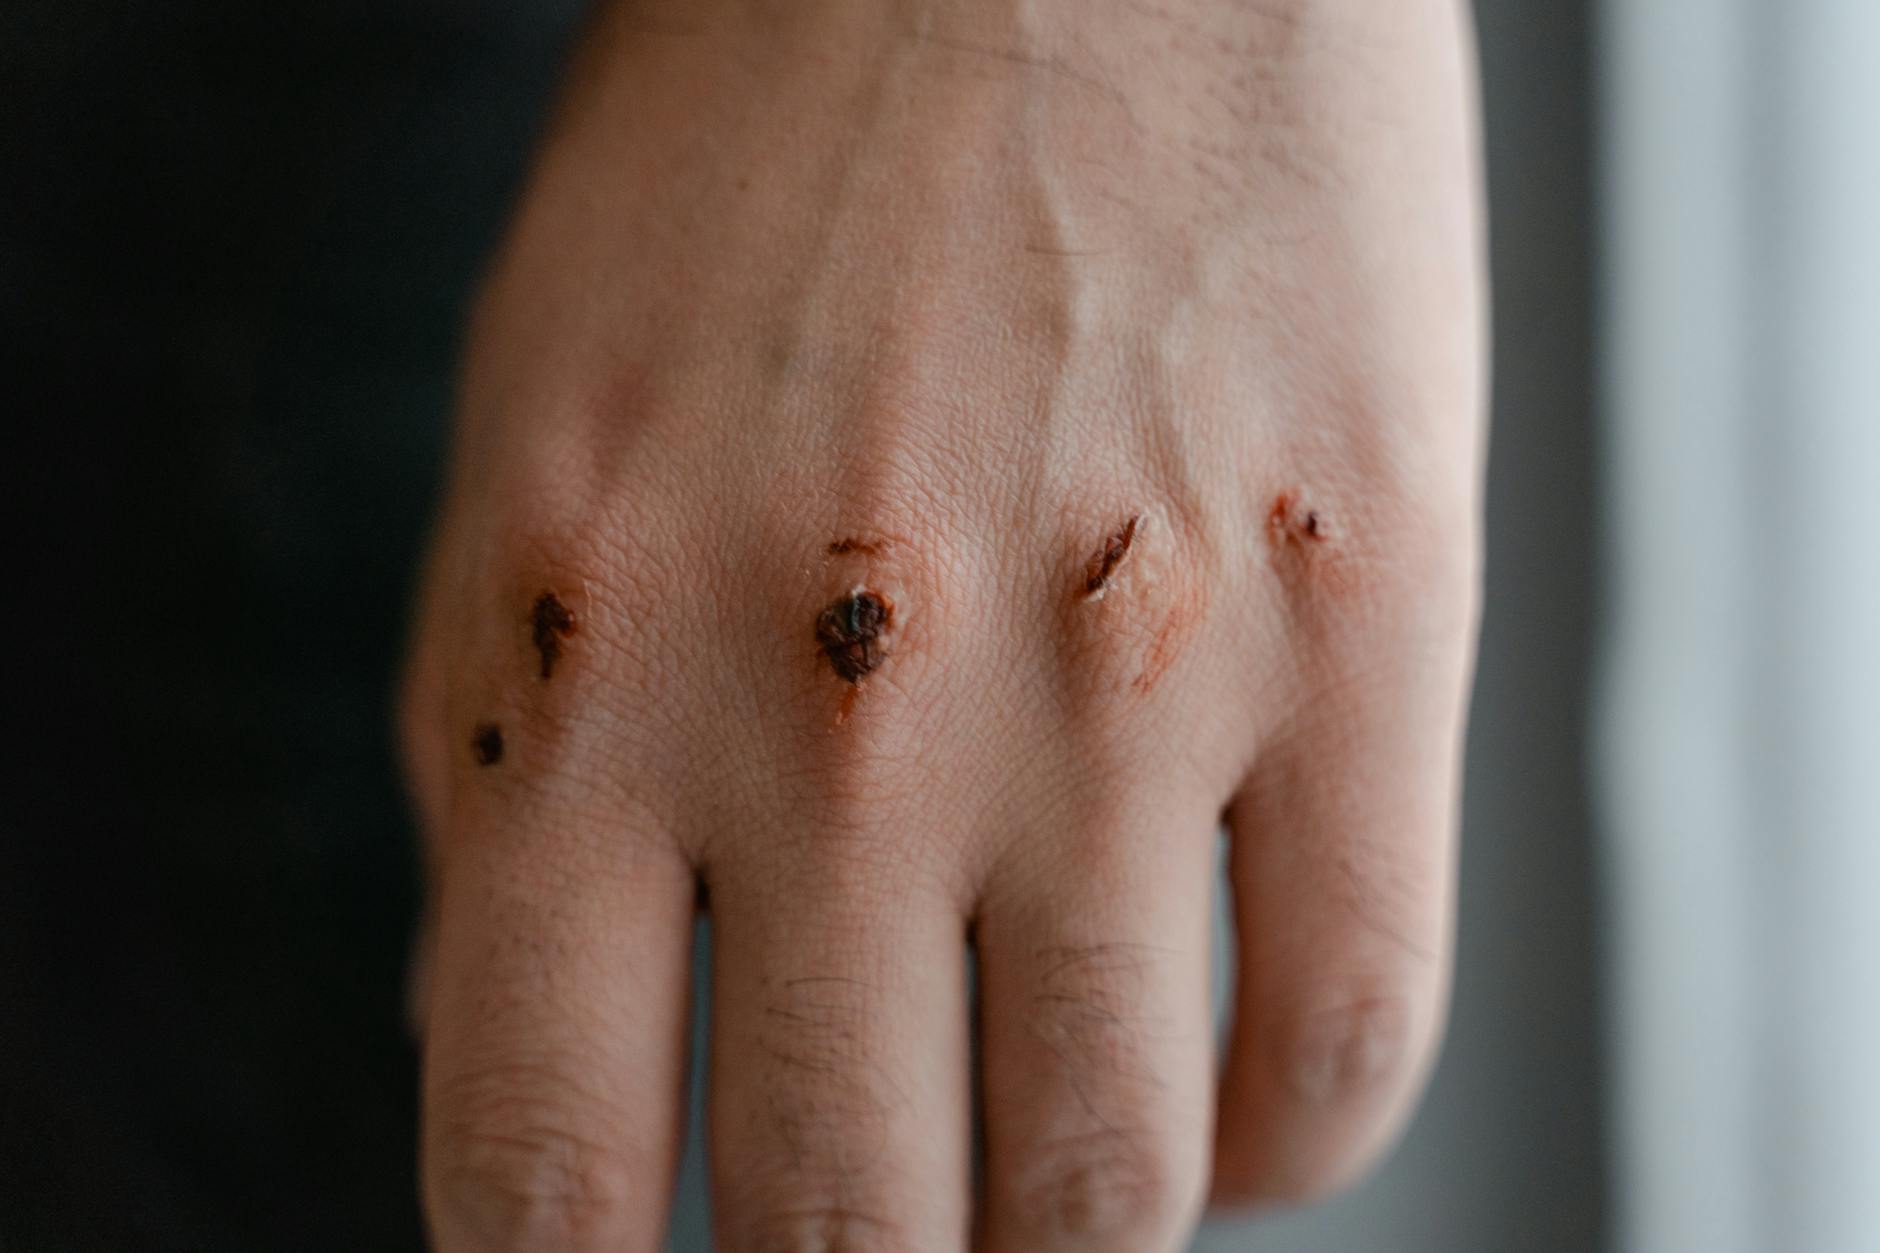
Your wound heals predictably over 2-4 weeks. Unlike treatments such as Chemical Peels that remove skin layers through controlled chemical exfoliation, surgical excision creates a clean wound that closes naturally. The scar will be red initially but fades to a thin white line over 6-12 months. Proper wound care prevents complications and ensures the best cosmetic outcome.
Common Questions and Concerns

Most patients worry about pain during surgical excision, but local anesthesia effectively numbs the treatment area before the procedure begins. You'll feel pressure and movement but no sharp pain. If you do experience discomfort, tell your dermatologist immediately—they can add more anesthetic to keep you comfortable throughout the entire process.
The amount of tissue removed depends on the size and depth of the lesion being treated. Your dermatologist removes the abnormal tissue plus a small margin of healthy skin to ensure complete removal. This margin is typically 2-4 millimeters for most benign lesions. The goal is complete removal while minimizing the size of the resulting scar.
Anesthesia wearing off during the procedure is extremely rare because dermatologists use appropriate amounts based on the expected procedure length. Most excisions take 15-30 minutes, well within the anesthetic's effective timeframe.
Recovery typically involves minimal downtime. Most patients return to work the next day with proper wound care. While scarring concerns are natural, proper surgical technique and post-procedure care minimize visible marks significantly.
Next Steps After Your Procedure
Your surgical excision is complete, and your healing journey begins now. Your doctor will place a bandage over the area and provide specific care instructions before you leave the office.
Change bandages as directed and gently clean with soap and water.
Call your doctor if you notice increased redness, pus, or severe pain.
Avoid heavy lifting and strenuous exercise for the first week to prevent reopening.
Your follow-up appointment, typically scheduled within 7-14 days, allows your doctor to check healing progress and remove stitches if needed. Proper wound care now prevents complications and minimizes scarring later.
Following your doctor's aftercare instructions closely ensures optimal healing and the best cosmetic outcome.
Frequently Asked Questions
What happens before the surgeon starts the excision procedure?
Before the first incision, your medical team positions you comfortably on the examination table and the surgeon marks the surgical site with a sterile pen. The area is thoroughly cleaned and draped with sterile cloths to prevent infection. All surgical instruments are verified and arranged within easy reach, and the surgeon reviews the planned approach one final time.
How long does the local anesthesia take to work?
The numbing effect from the lidocaine injection usually takes 5-10 minutes to reach full effectiveness. During this waiting period, your doctor will gently test the area with a small instrument to confirm complete numbness. Your surgeon will not proceed until the area is completely numb, and will administer additional anesthetic if needed.
Will I feel pain during the anesthesia injection?
You'll feel a brief pinching sensation when the needle goes in, followed by a mild burning or stinging feeling as the lidocaine spreads through the tissue. The initial injection discomfort lasts only seconds, but the numbness that follows ensures you won't feel the actual excision. The injection site may feel slightly swollen or tight afterward, which is completely normal.
What will I feel during the actual excision procedure?
Once the area is completely numb, you won't feel any sharp pain during the excision. You might feel pressure or tugging sensations during the procedure, but no discomfort. The surgeon follows a systematic approach to remove the targeted tissue while minimizing impact on surrounding healthy skin.
Disclaimer: This content is for informational purposes only and does not constitute medical advice. Always consult a qualified healthcare provider before making health decisions.